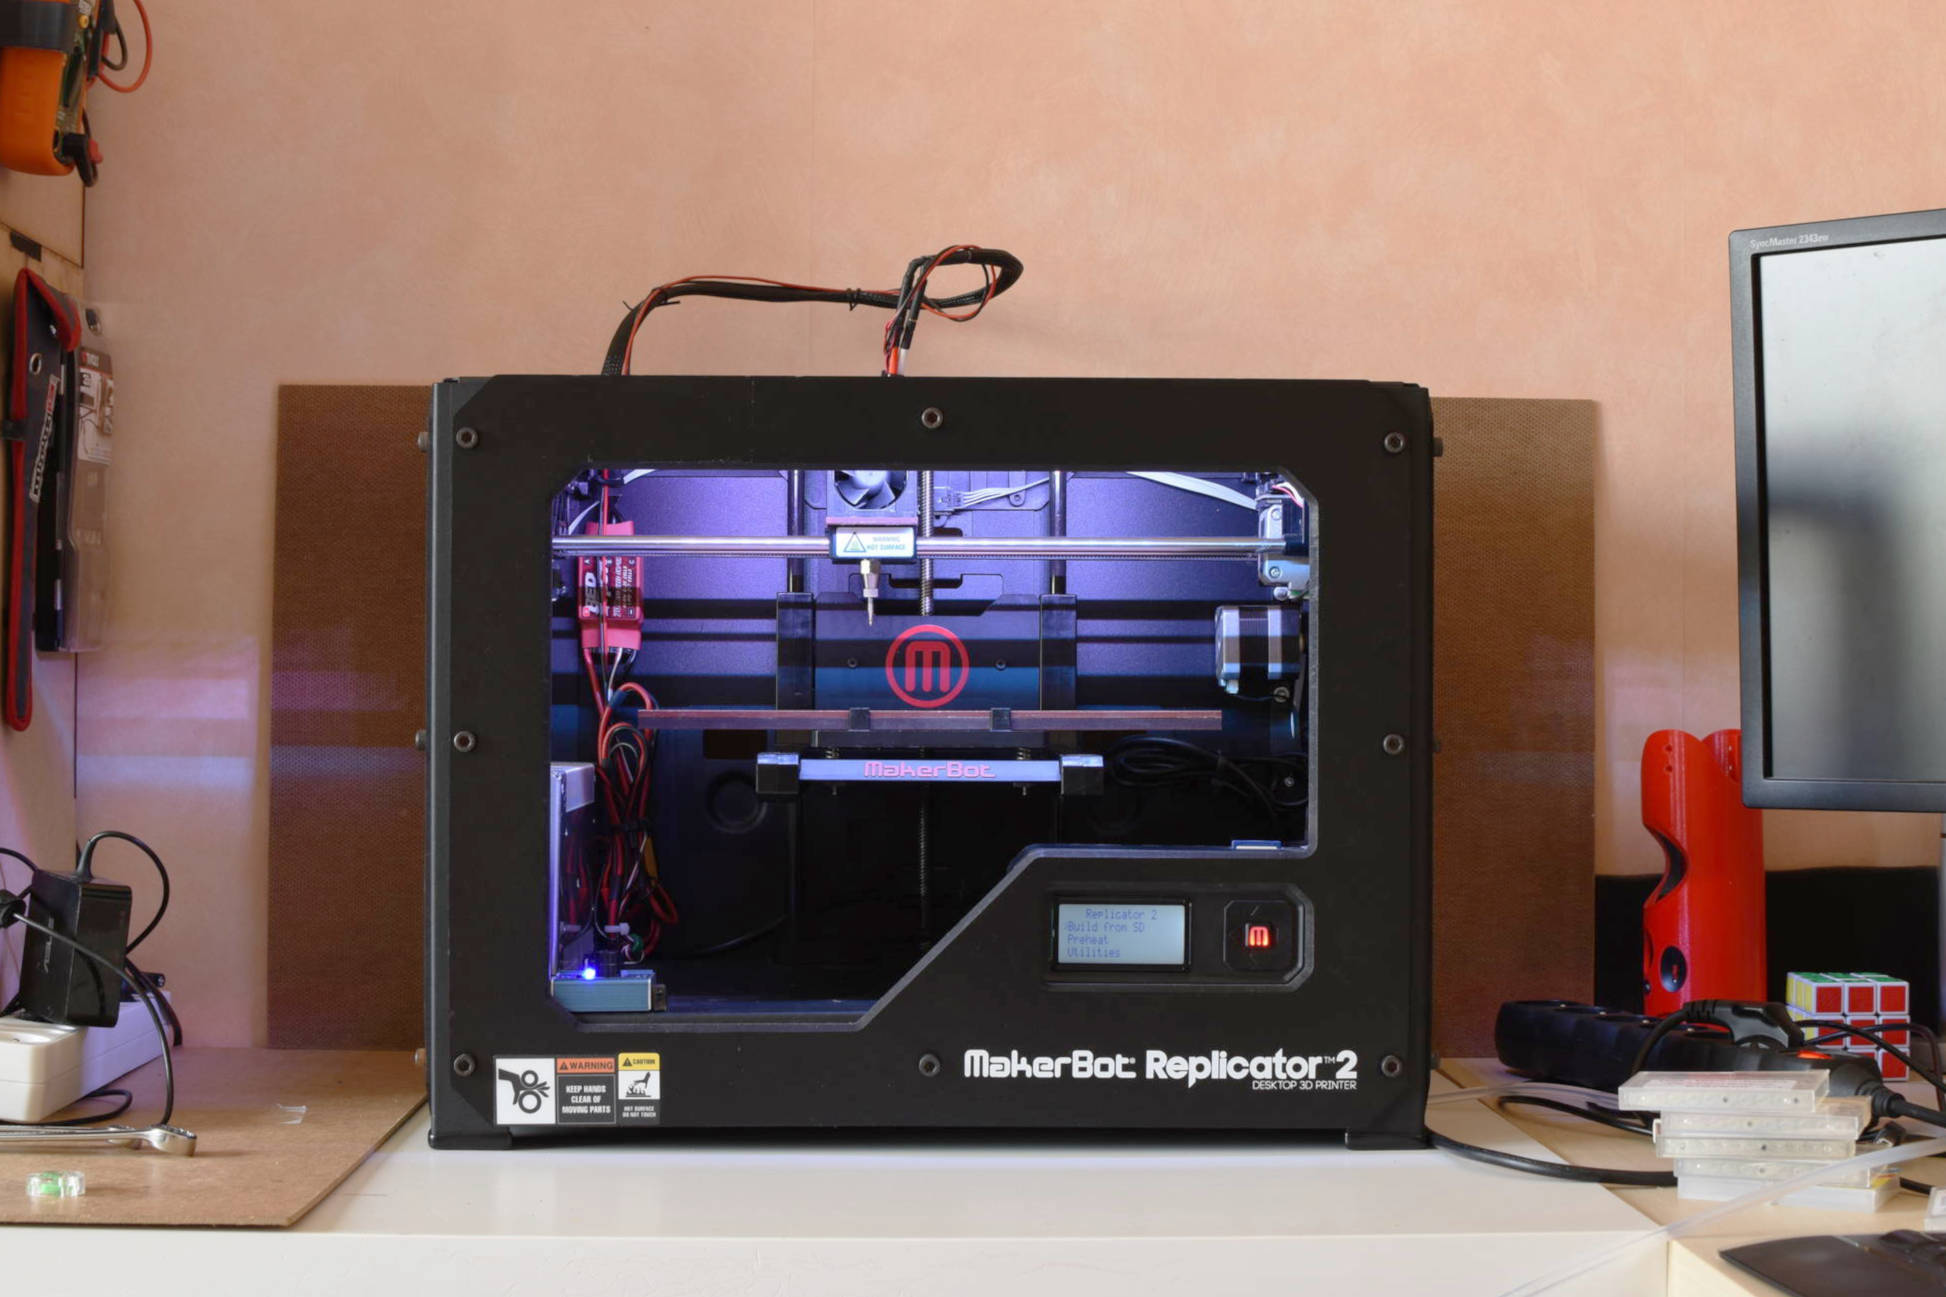
A Makerbot transformed into a CNC router. But you probably guessed that already from the very imaginative project name.

So, I had this old Makerbot Replicator 2 laying around (who doesn’t?), which wouldn’t work anymore. It didn’t want to extrude plastic for more than a few minutes at a time without clogging, and since replacing the extruder by a new one didn’t fix the problem, I started to suspect that the temperature controller on the main board was damaged. Anyway, I got tired of losing time with this machine so I put it aside and replaced it with an Ultimaker 2. I have always liked computer-controlled machines though, and since the steppers still worked properly, I figured that given a few tweaks and a cheap brushless motor from an RC store the machine could be converted to some kind of CNC router. How hard could it be, right ?
What have we got?
A quick look at the Makerbot revealed two important things for this project :
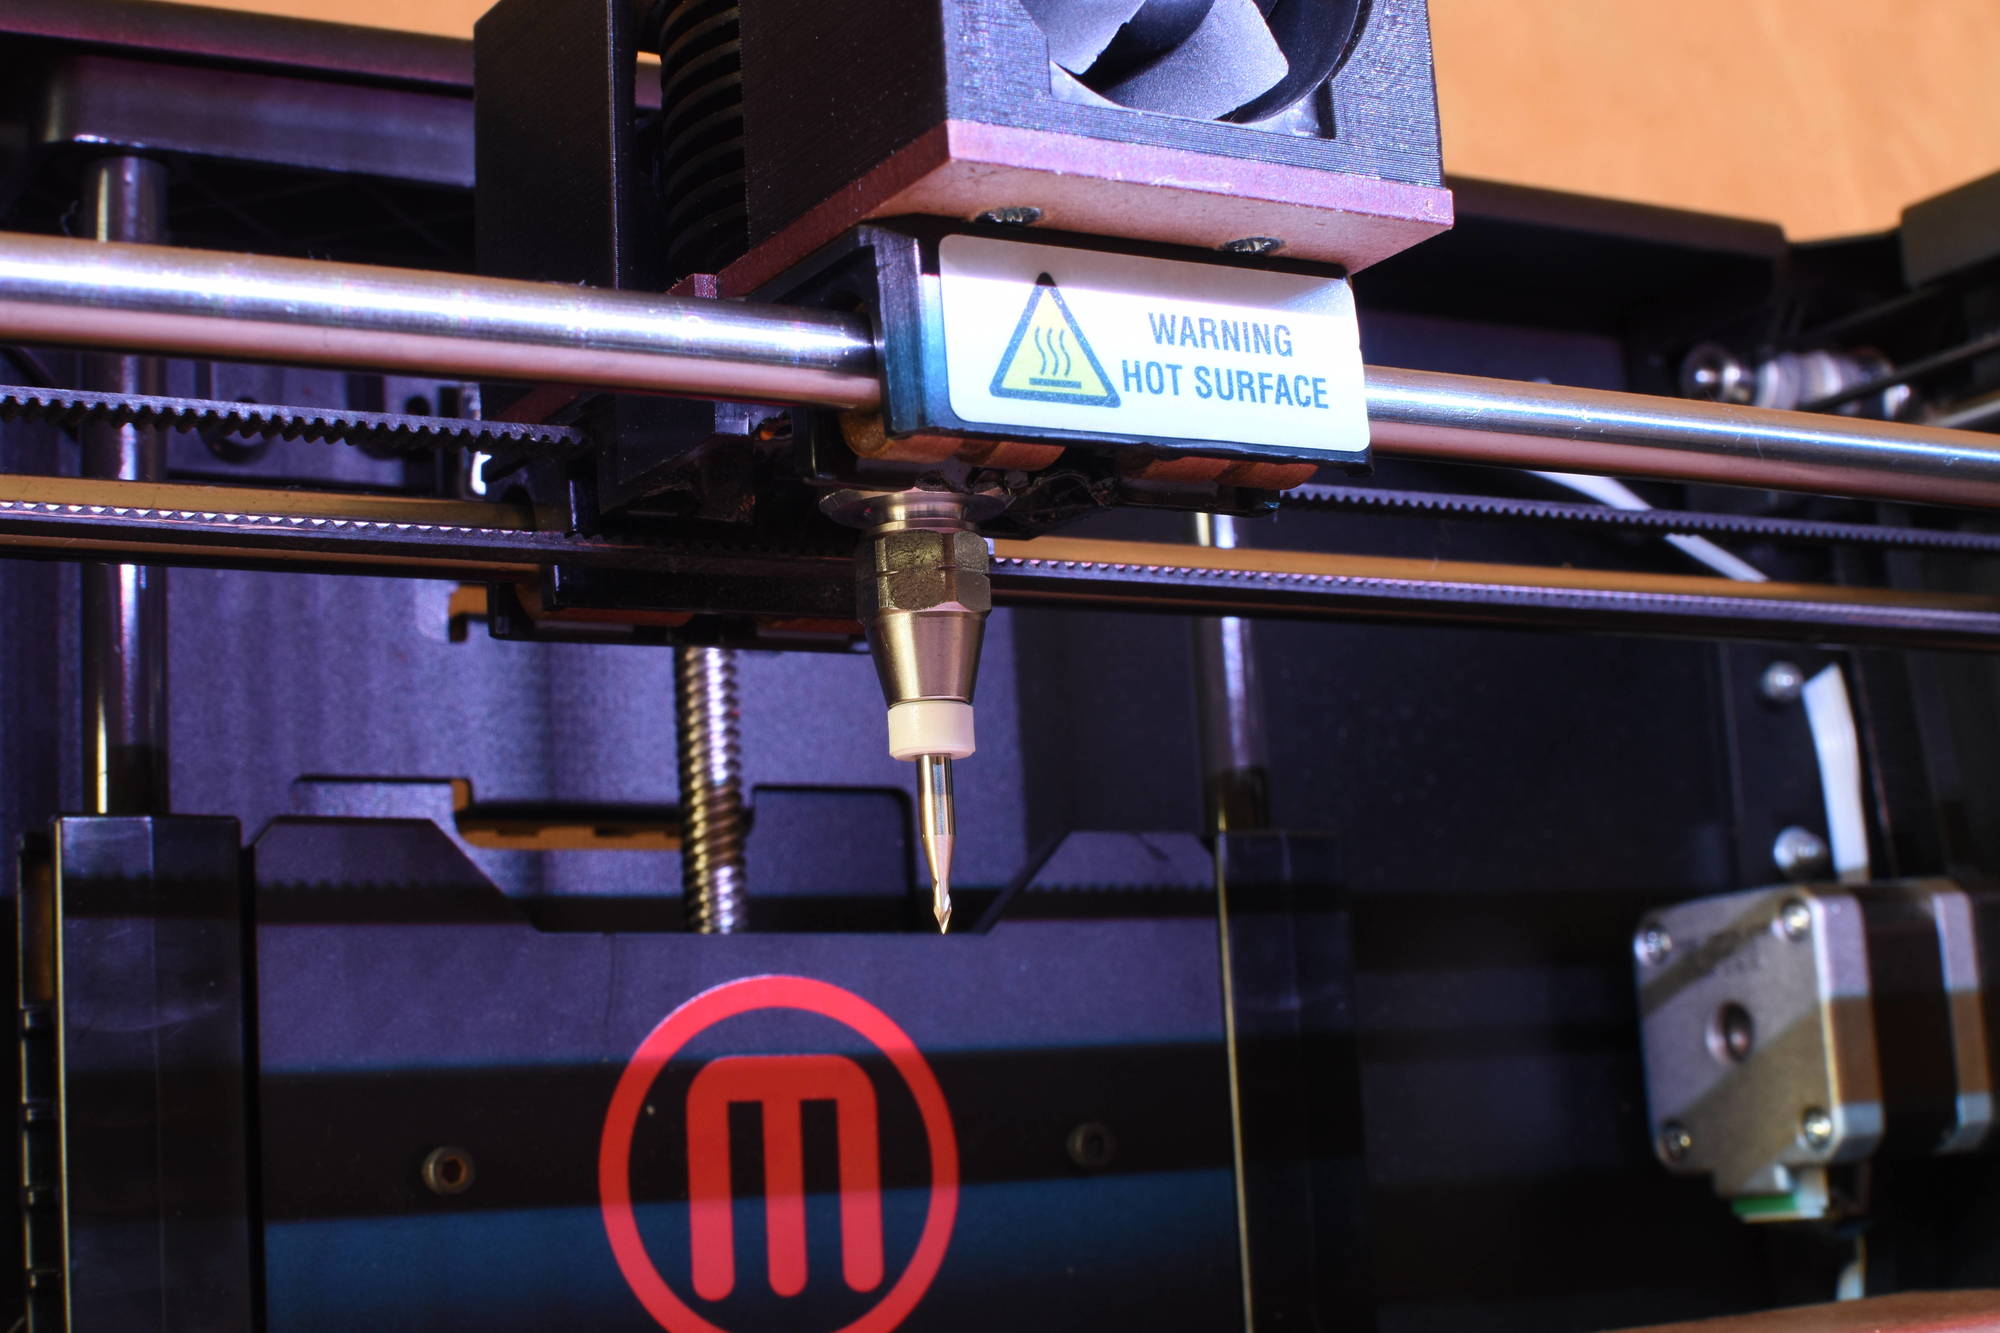
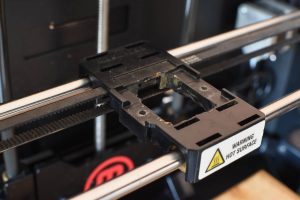
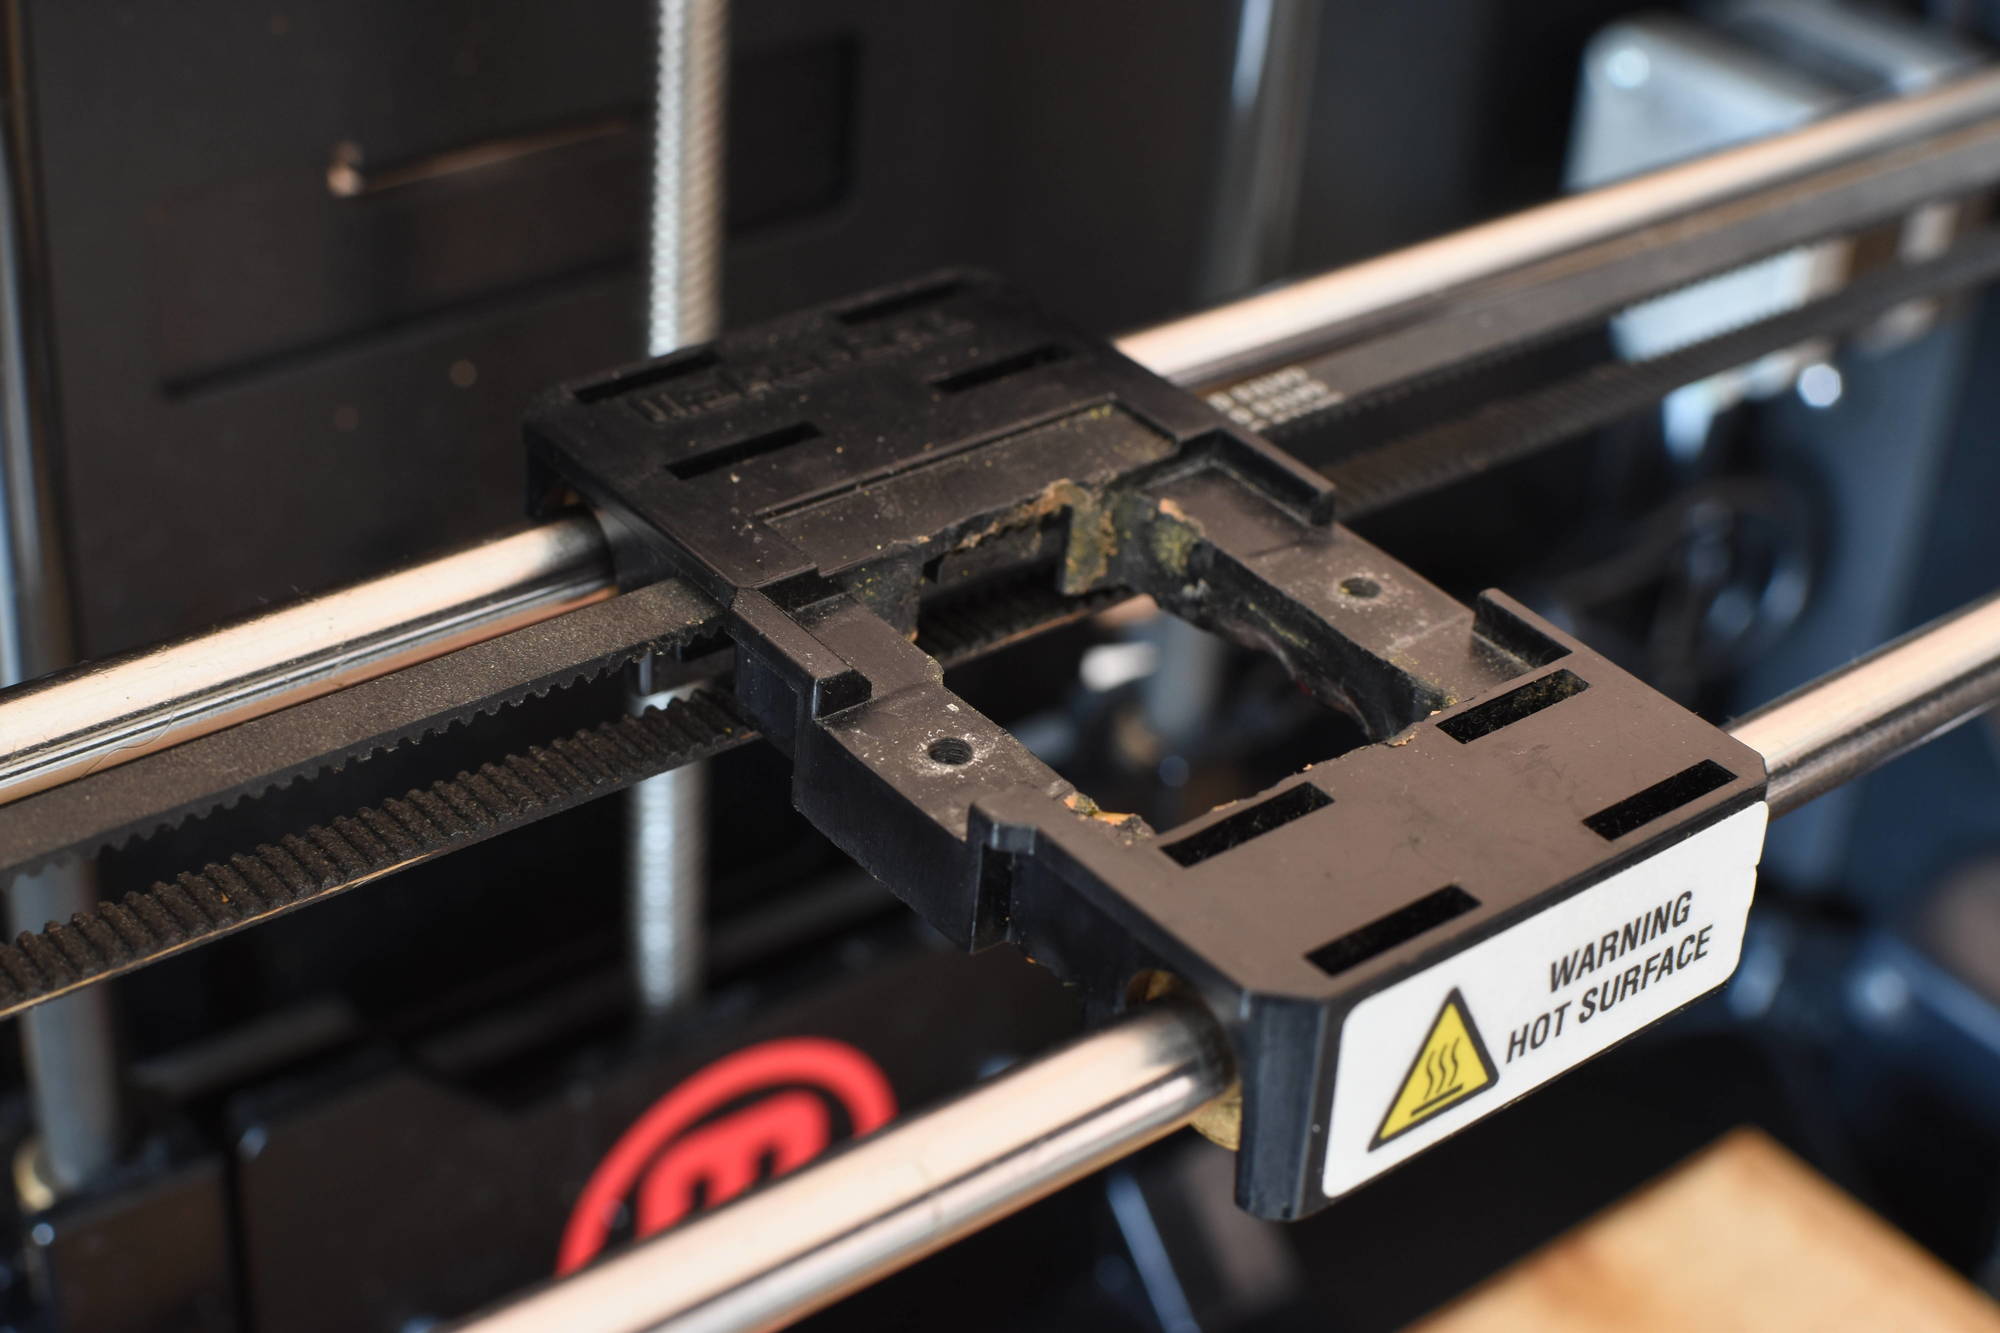
- The extruder could be easily removed, the machine still worked without it, and the main carriage featured a large square hole and two screws on which a 3D-printed adapter board could be pretty easily fitted. That’s good.
- The global structure of the machine was not really well designed (compared for example to the Ultimaker) and this lead to stiffness problems. That’s not good.
I could either try to improve the overall stiffness of the machine or choose to limit it to light tasks, such as engraving PCBs. Well, the motors and transmission belts were not exactly heavy-duty either anyway, so reinforcing the structure seemed kind of pointless, and being able to make PCBs at home was already pretty interesting on its own, so I settled on this option.
Controlling the machine
First, I needed to be able to control the steppers to follow the path that I wanted. Three possibilities came to mind :
- Using the SD card slot and the embedded GCode interpreter, exactly like when making a normal 3D print, but with custom-generated GCode files. That didn’t seem the most practical because engraving PCBs requires a lot of human interaction : switch the side of the board, change the current tool (I didn’t plan on making an automatic tool changing system, that sounded overkill), check the board levelling… The GUI wasn’t exactly designed for that.
- Developing a new firmware specifically designed for this purpose. After all, there was a time when Makerbot was more or less open-source, maybe there was still doors open that could ease the process. Too time-consuming anyway, I ruled it out.
- Keeping the machine “dumb” and handing down the motor control to a computer via the serial port. Would it be quick enough to send the instructions in realtime? Look, there is a Python API implementation of MakerBot’s S3G protocol to talk to MakerBots! A git clone later, I was able to control the motors, home axes and even display messages on the screen and make it sing like a christmas carol. Great!
Importing Gerbers
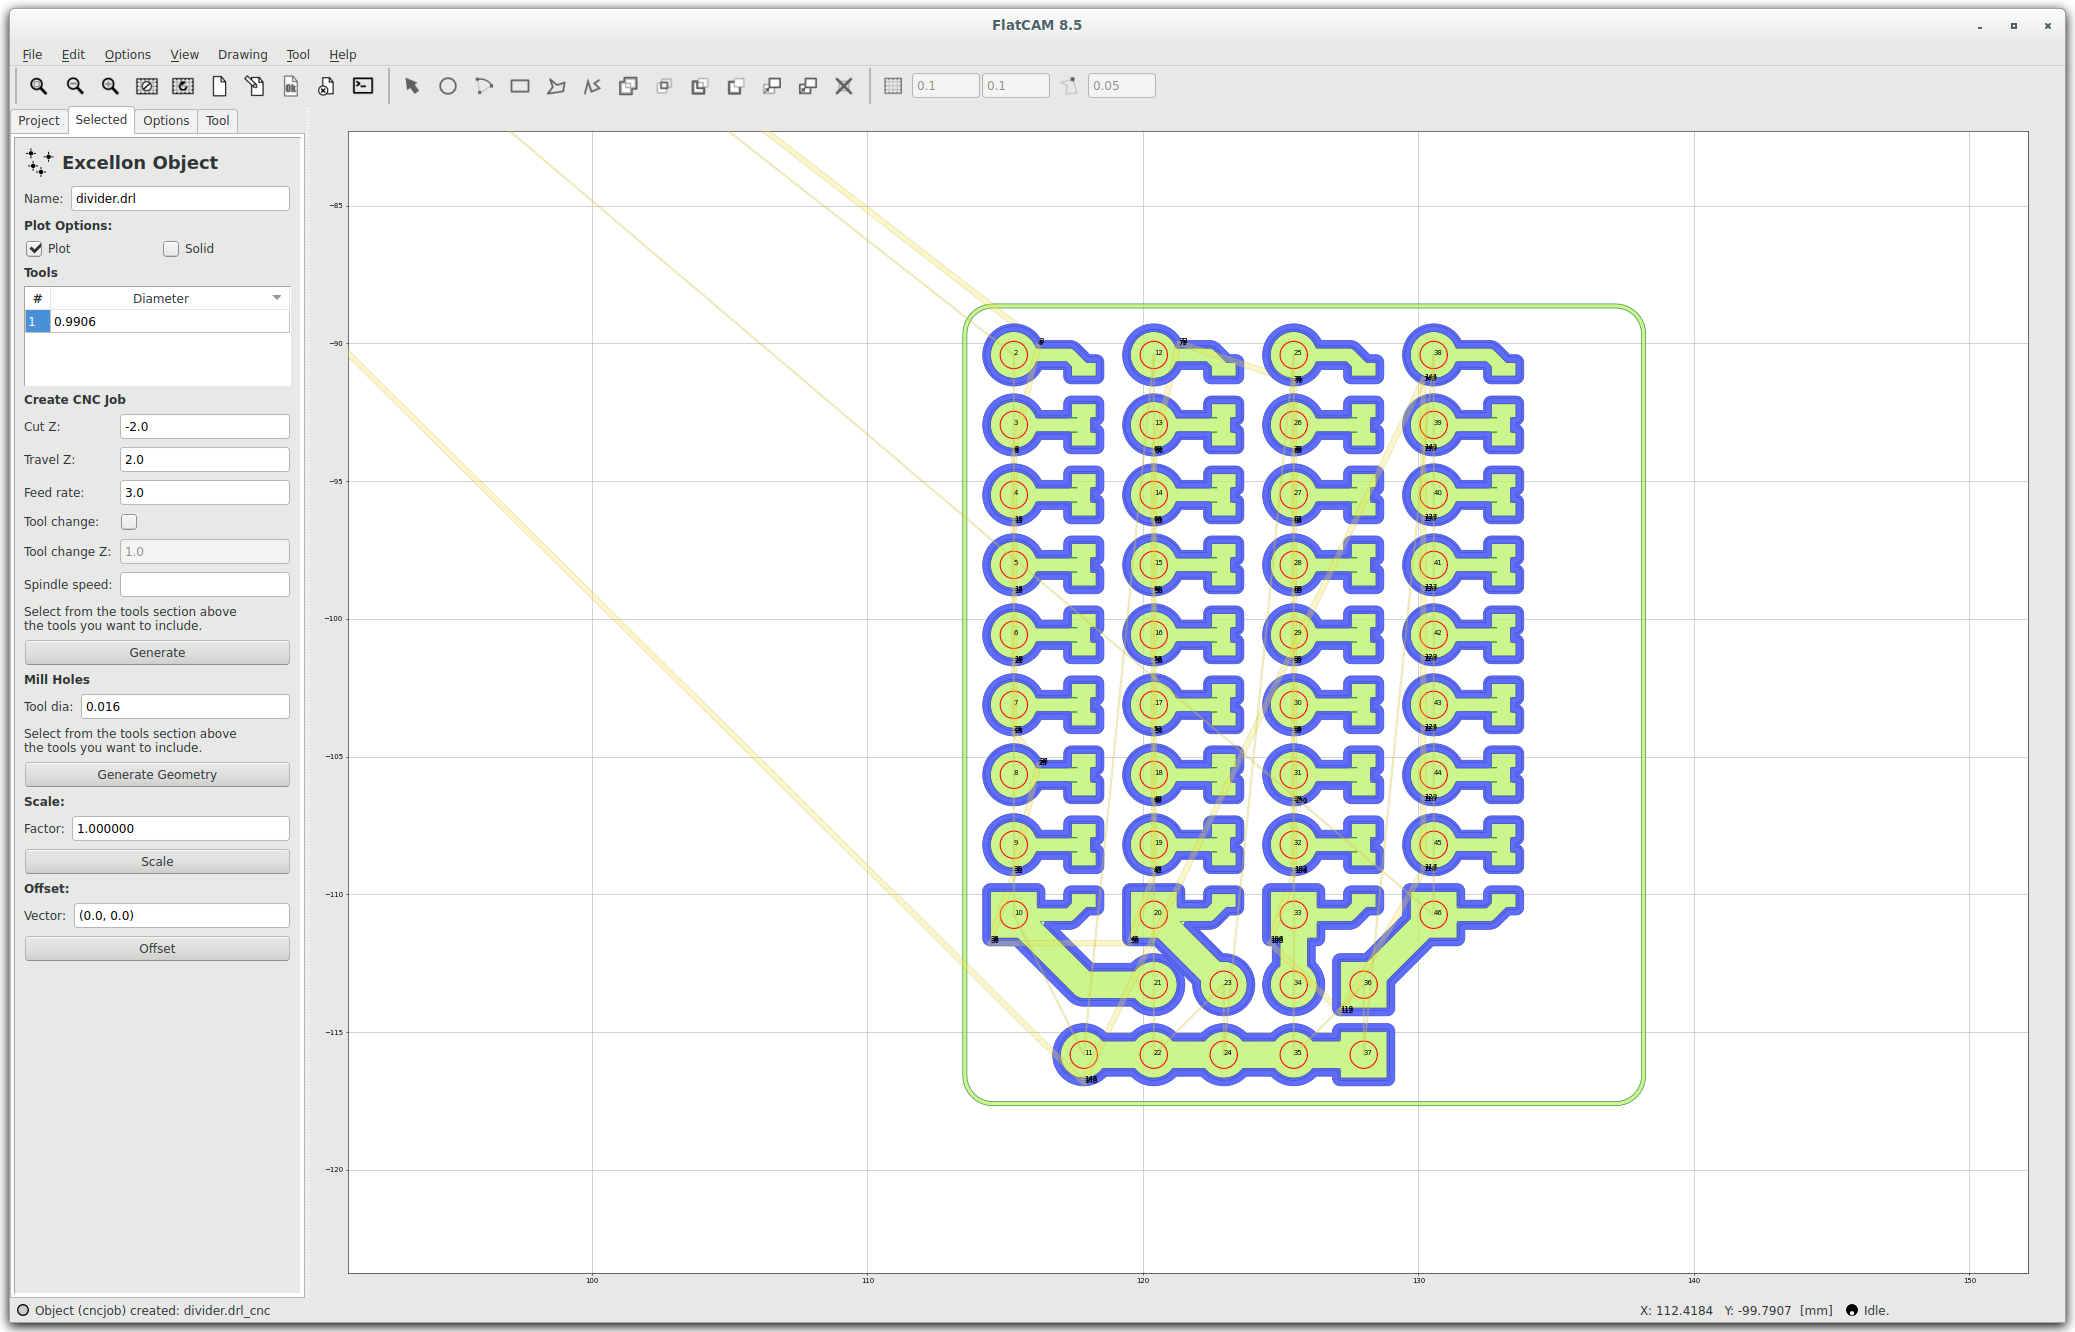
Controlling the machine was nice, but I still needed to know what instructions to send, which meant converting the Gerber files to some kind of GCode that my Python program could interpret and send. This is not a trivial task because Gerbers are composed of polygon descriptions and generating routing paths from them requires complex geometric computations. Fortunately I had stumbled upon FlatCAM some time before and the link was burried somewhere in my bookmarks. FlatCAM is a great open-source software that can import Gerber, Excellon and SVG files, perform all kind of operations on them, generate routing paths for engraving/cutting them and export GCode files that can easily be parsed. Can’t really ask for more.
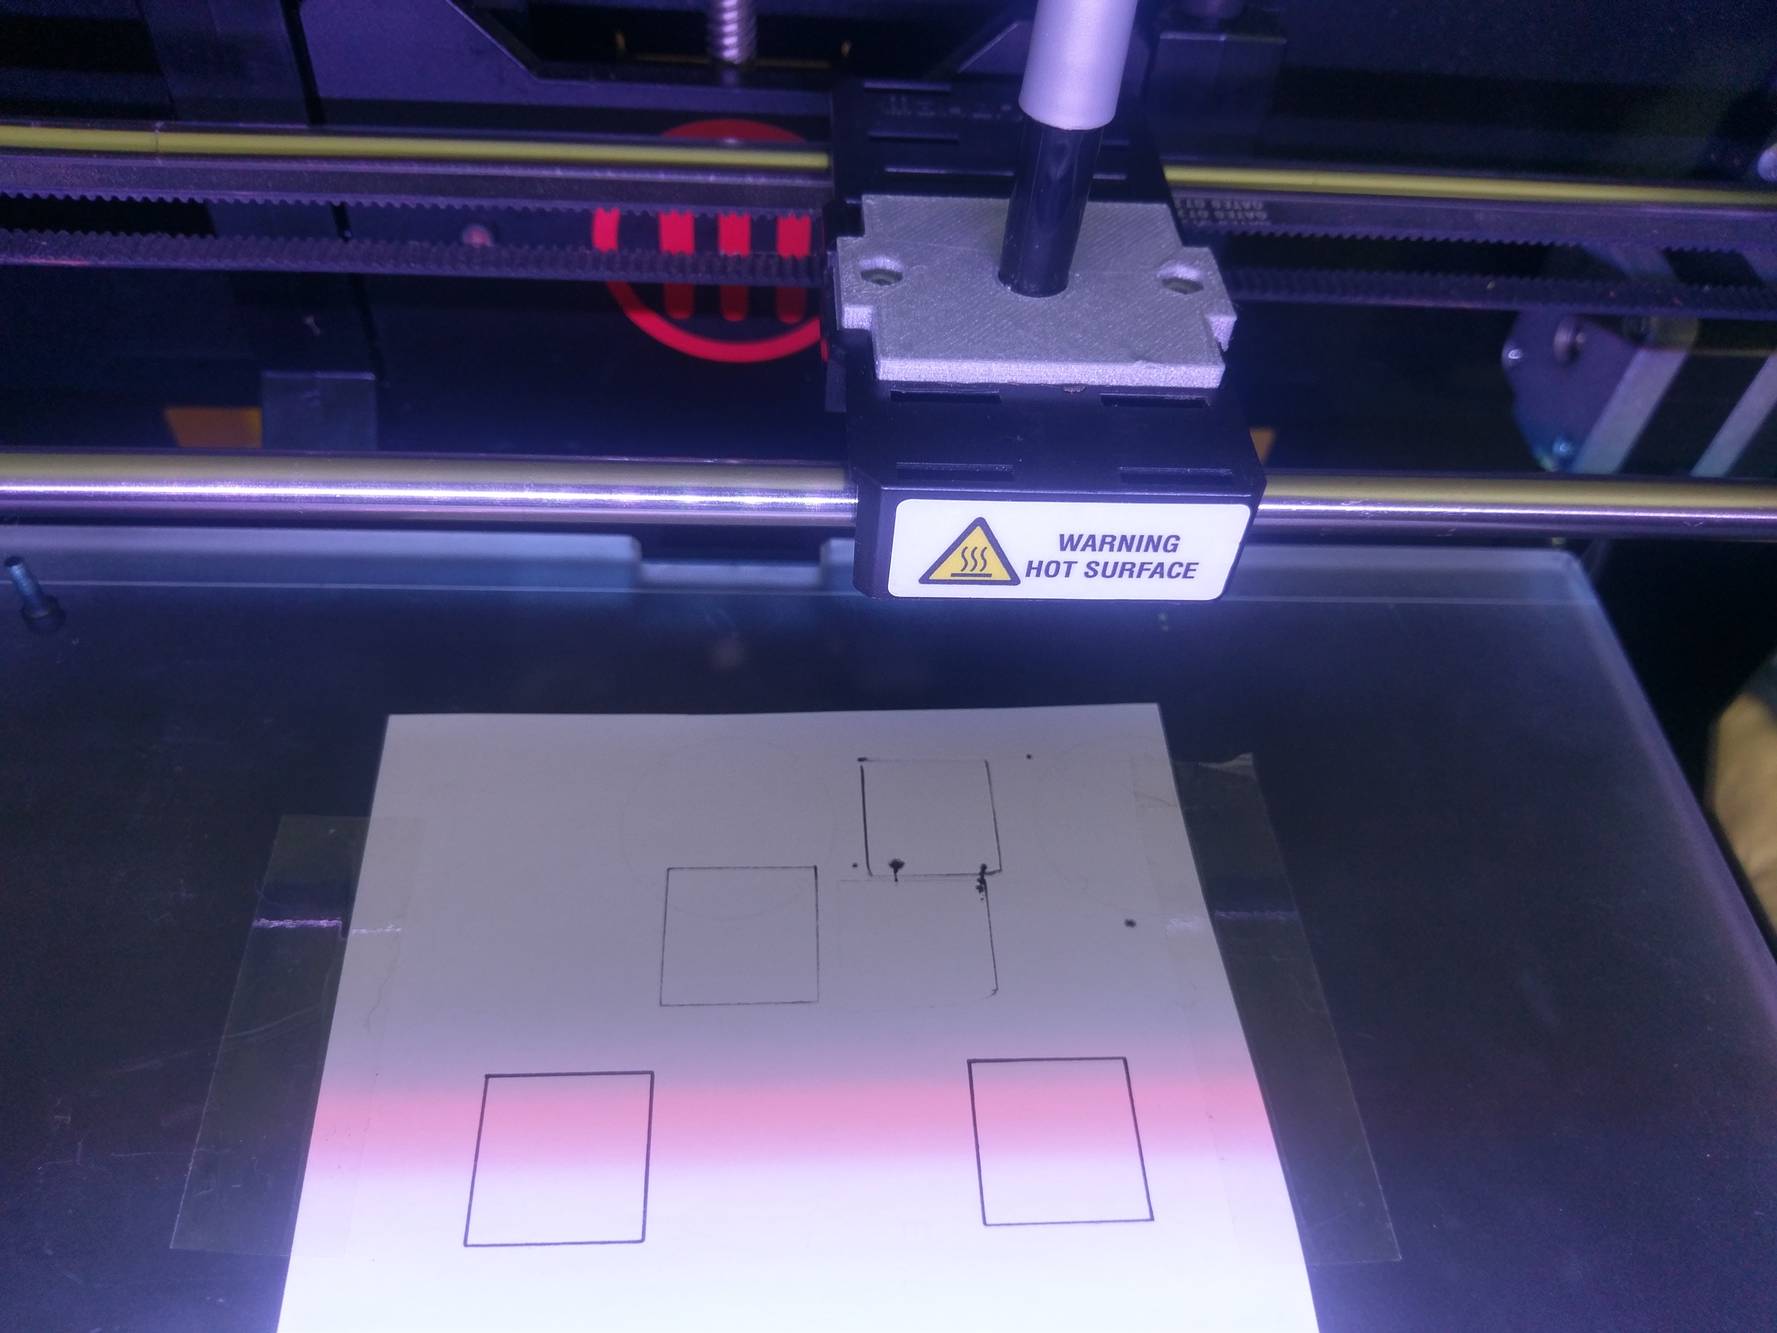
First tests
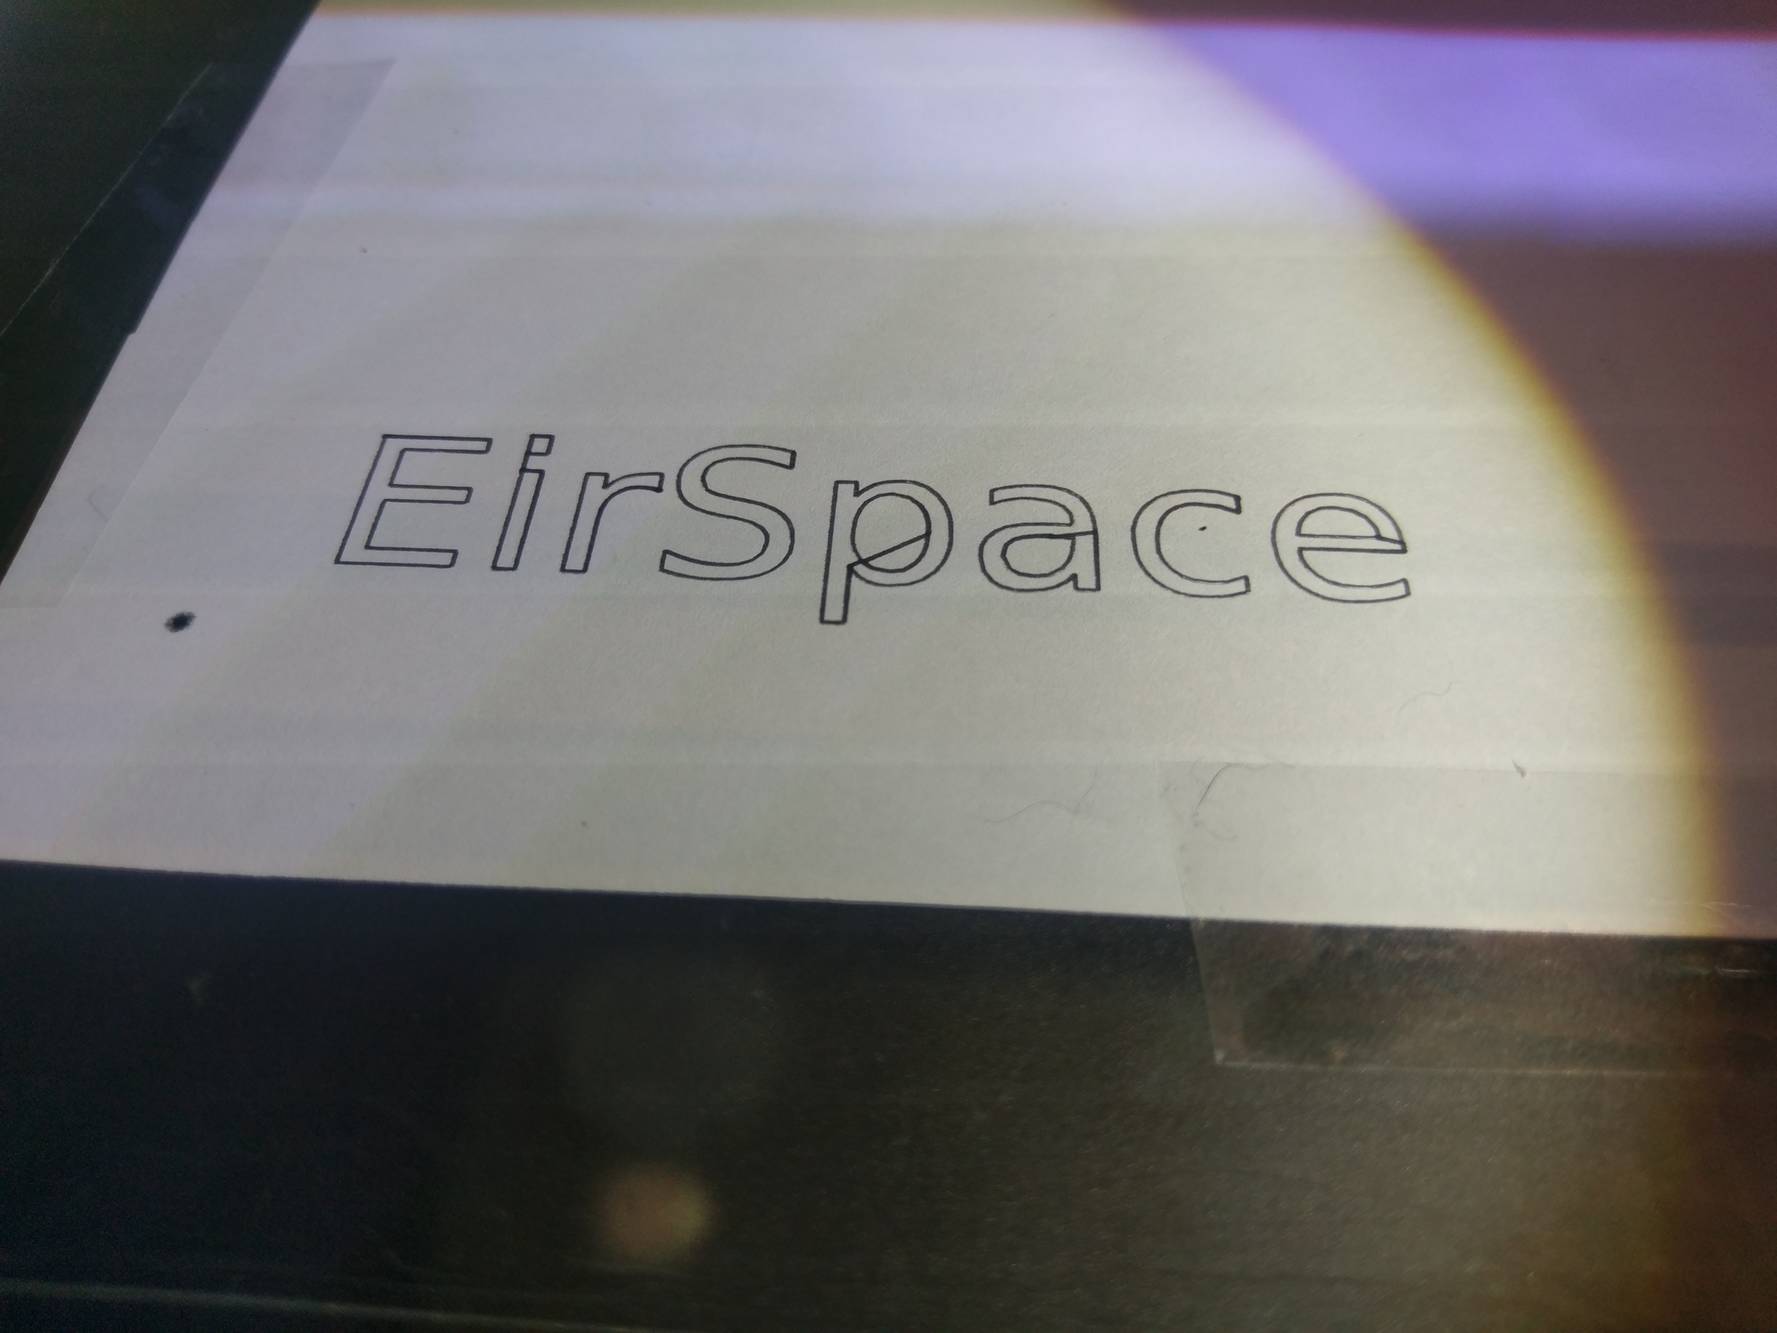
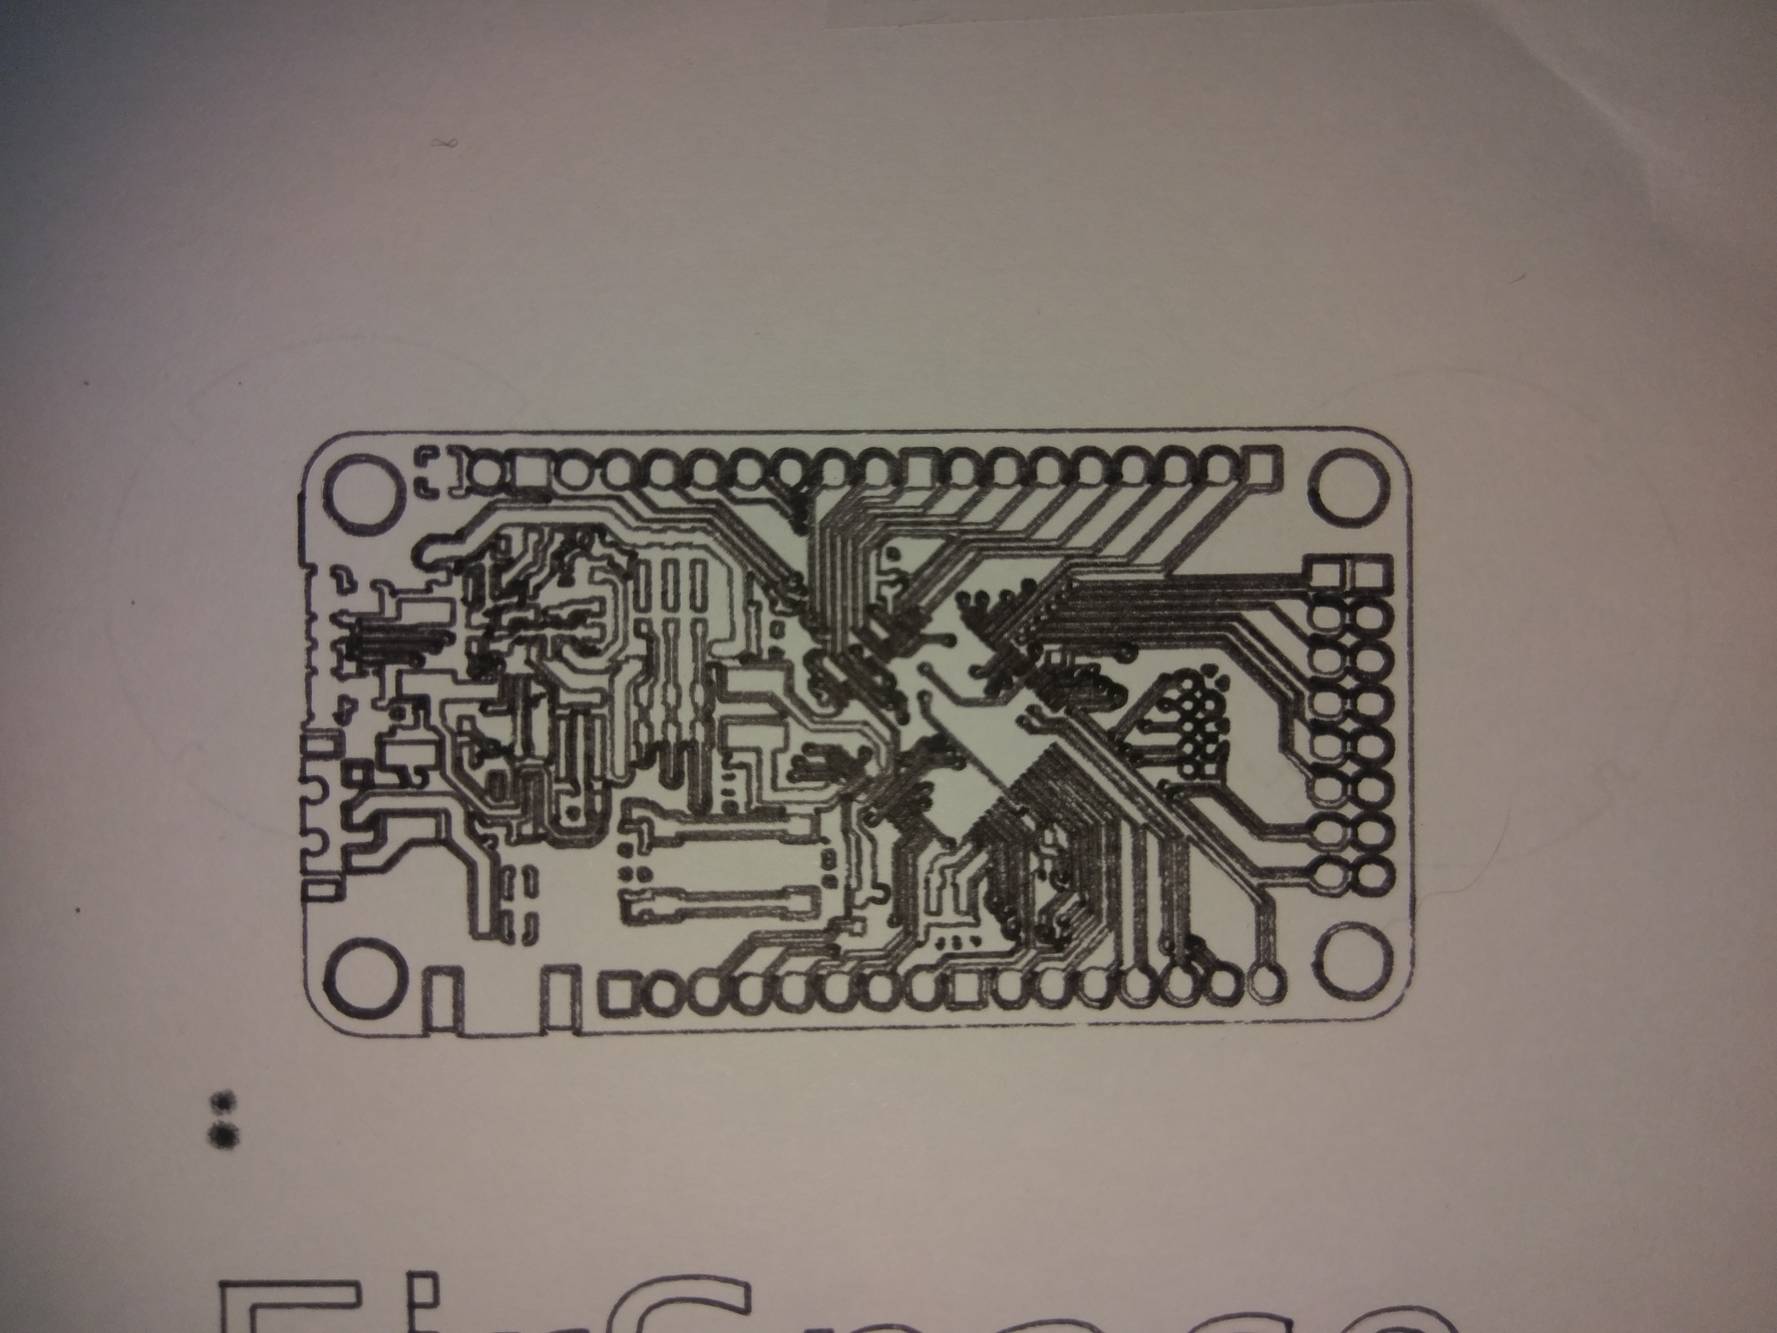
At this point I had everything I needed to start making some tests using a simple pen as the head. I 3D-printed an adapter board and plotted a few designs of increasing complexity : first some lines, then a square, then a circle, then some text, then a full PCB. After a few tweaks it started to look good :
Let’s add some power!
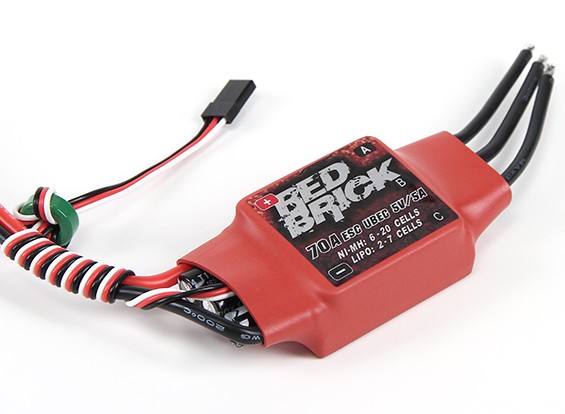
Now that I had a working proof of concept I could consider investing on the hardware side. Having built a few RC cars, planes and multicopters in the past seven years or so, using a brushless from an RC store was kind of a no-brainer. I settled on a B36-50-16S-FIN from HobbyKing for about 20 bucks with a Red Brick 70A ESC for about the same money (kind of oversized, I admit). The specs of the motor indicated a max current of 40A and I didn’t have a supply that could provide this much, so I also took a big 4S 5200mAh 10C LiPo pack that was on sale at the time for about 20 bucks as well. I also used a Servo Tester from Turnigy that I had laying around to control the motor. 1000W, that should be enough power right?
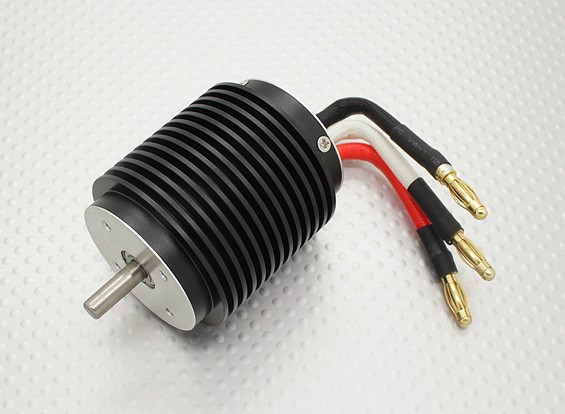

I chose this motor for a few reasons. First, I wanted an inrunner to limit the amount of dust going inside (especially from engraving copper). However inrunners tend to run hotter so I was planning to surround it with two small fans from the junk bin which had the right size, and the rings on the motor looked good for heat transfer. 2300kv was kind of a shot in the dark but I figured that the stiffness problems mentioned earlier wouldn’t allow me to apply much torque on the tool anyway, so I might as well go for more speed. Finally, the diameter was compatible with the dimensions of the carriage and the adapter board that I was planning, i.e. the motor was not big enough to cover the screw holes in the carriage and prevent me from assembling the whole thing altogether (this is the kind of bad surprise you want to avoid).
Collet
Up to this point everything had gone well, so obviously there had to be some hard point somewhere, and it turned out to be the collet (someone more experienced than me with machining would probably have seen it coming). The diameter of the shaft coming out of the motor (5mm) is not a standard in machining, so I needed some kind of adaptor, but I don’t have access to a lathe and the tools I have are mainly an FDM 3D-printer, a laser cutter and a Dremel. I first attempted to adapt a Dremel chuck but the Dremel thread is not standard and the shaft didn’t fit inside the chuck. The smaller chuck that I found on Amazon was just plain bad, nothing was properly aligned. I then tried to make a custom collet using a rod of aluminum and the tools I had on hand, but this turned out to be ridiculously bad as well. Turns out it’s pretty hard to make a well-balanced rotating object without a lathe.
I was starting to run out of ideas when a friend recommended that I looked at the collet clutches used to couple motors to flex shafts in RC boats, and I found the perfect match on Modellbaupirat. It adapts on one side to a 5mm motor shaft, perfect for my brushless, and on the other side to a 3.2mm flex shaft, which is perfectly compatible with the 1/8″ (3.175mm) shank diameter from the tool bits. Also, it’s true German quality and designed to run at high speeds so it’s extremely well balanced and adds no runout that I could see or measure. It costs more than the motor itself, but it’s absolutely worth it.

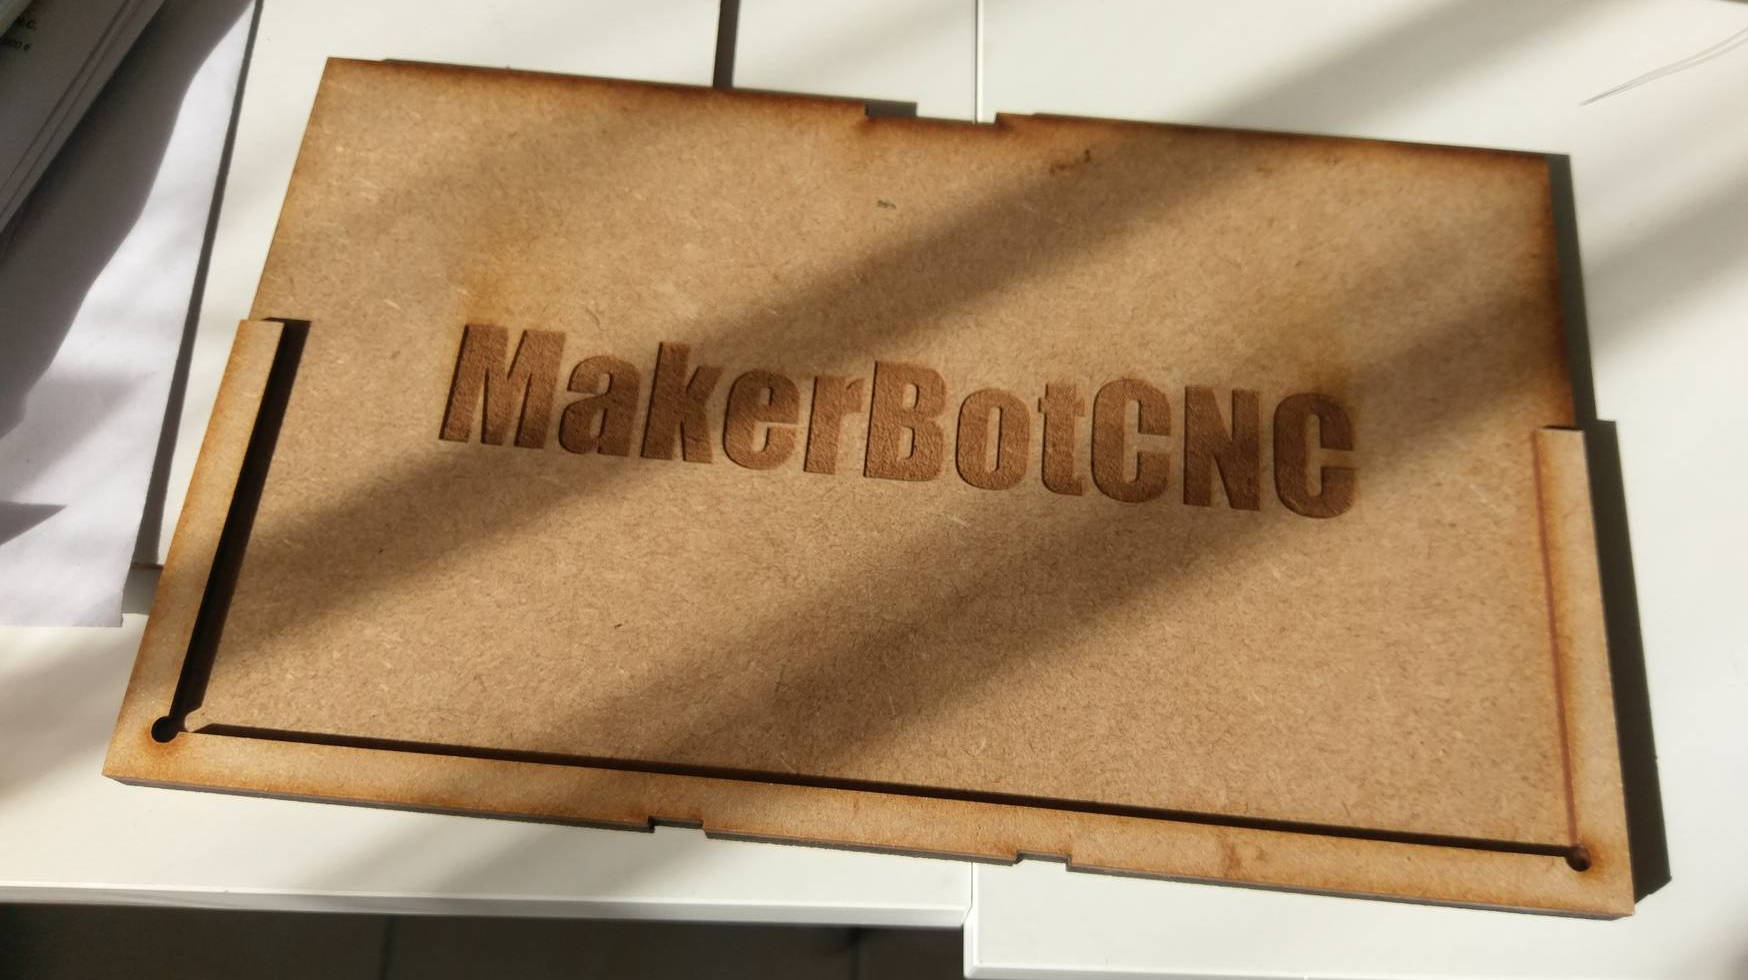
Carriage
The carriage is made from two laser-cut 3mm MDF boards glued together. The fans supports are 3D-printed and the motor is directly screwed to the board. Two other screws ensure compatibility with the original carriage mount. Overall, it proved a simple and effective solution.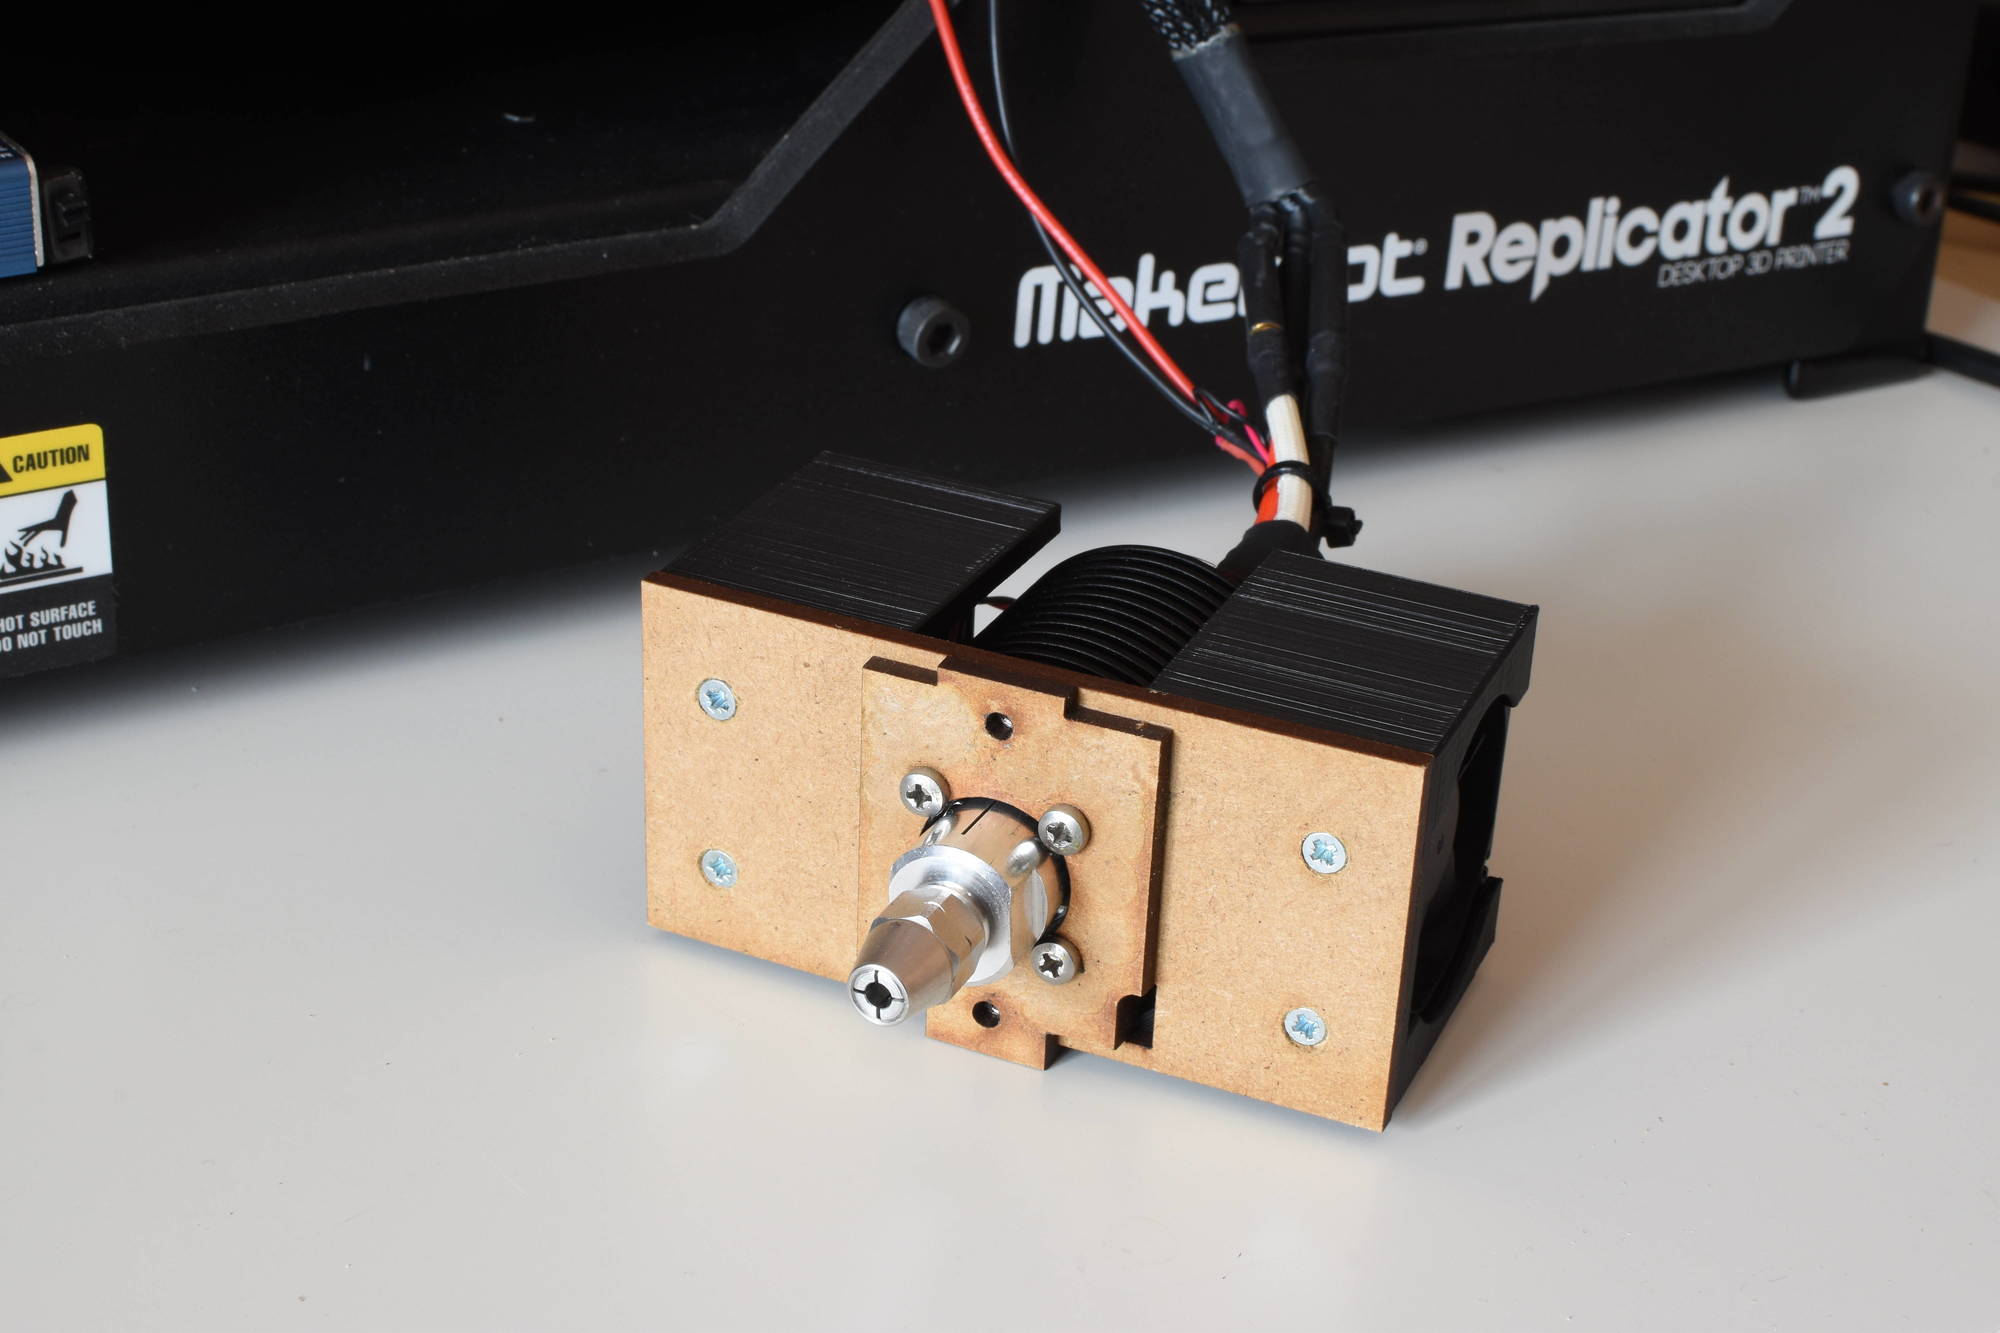

Actually, this is the second iteration of the design. The first iteration was a simple 3D-printed adapter to mount the motor to the carriage. On paper, it worked; in practice, guess what happens ? Hint : it involves a motor running pretty hot and putting a relatively high mechanical stress on a PLA part. Yes, after the first test the adapter was completely melted and bent.
Tools
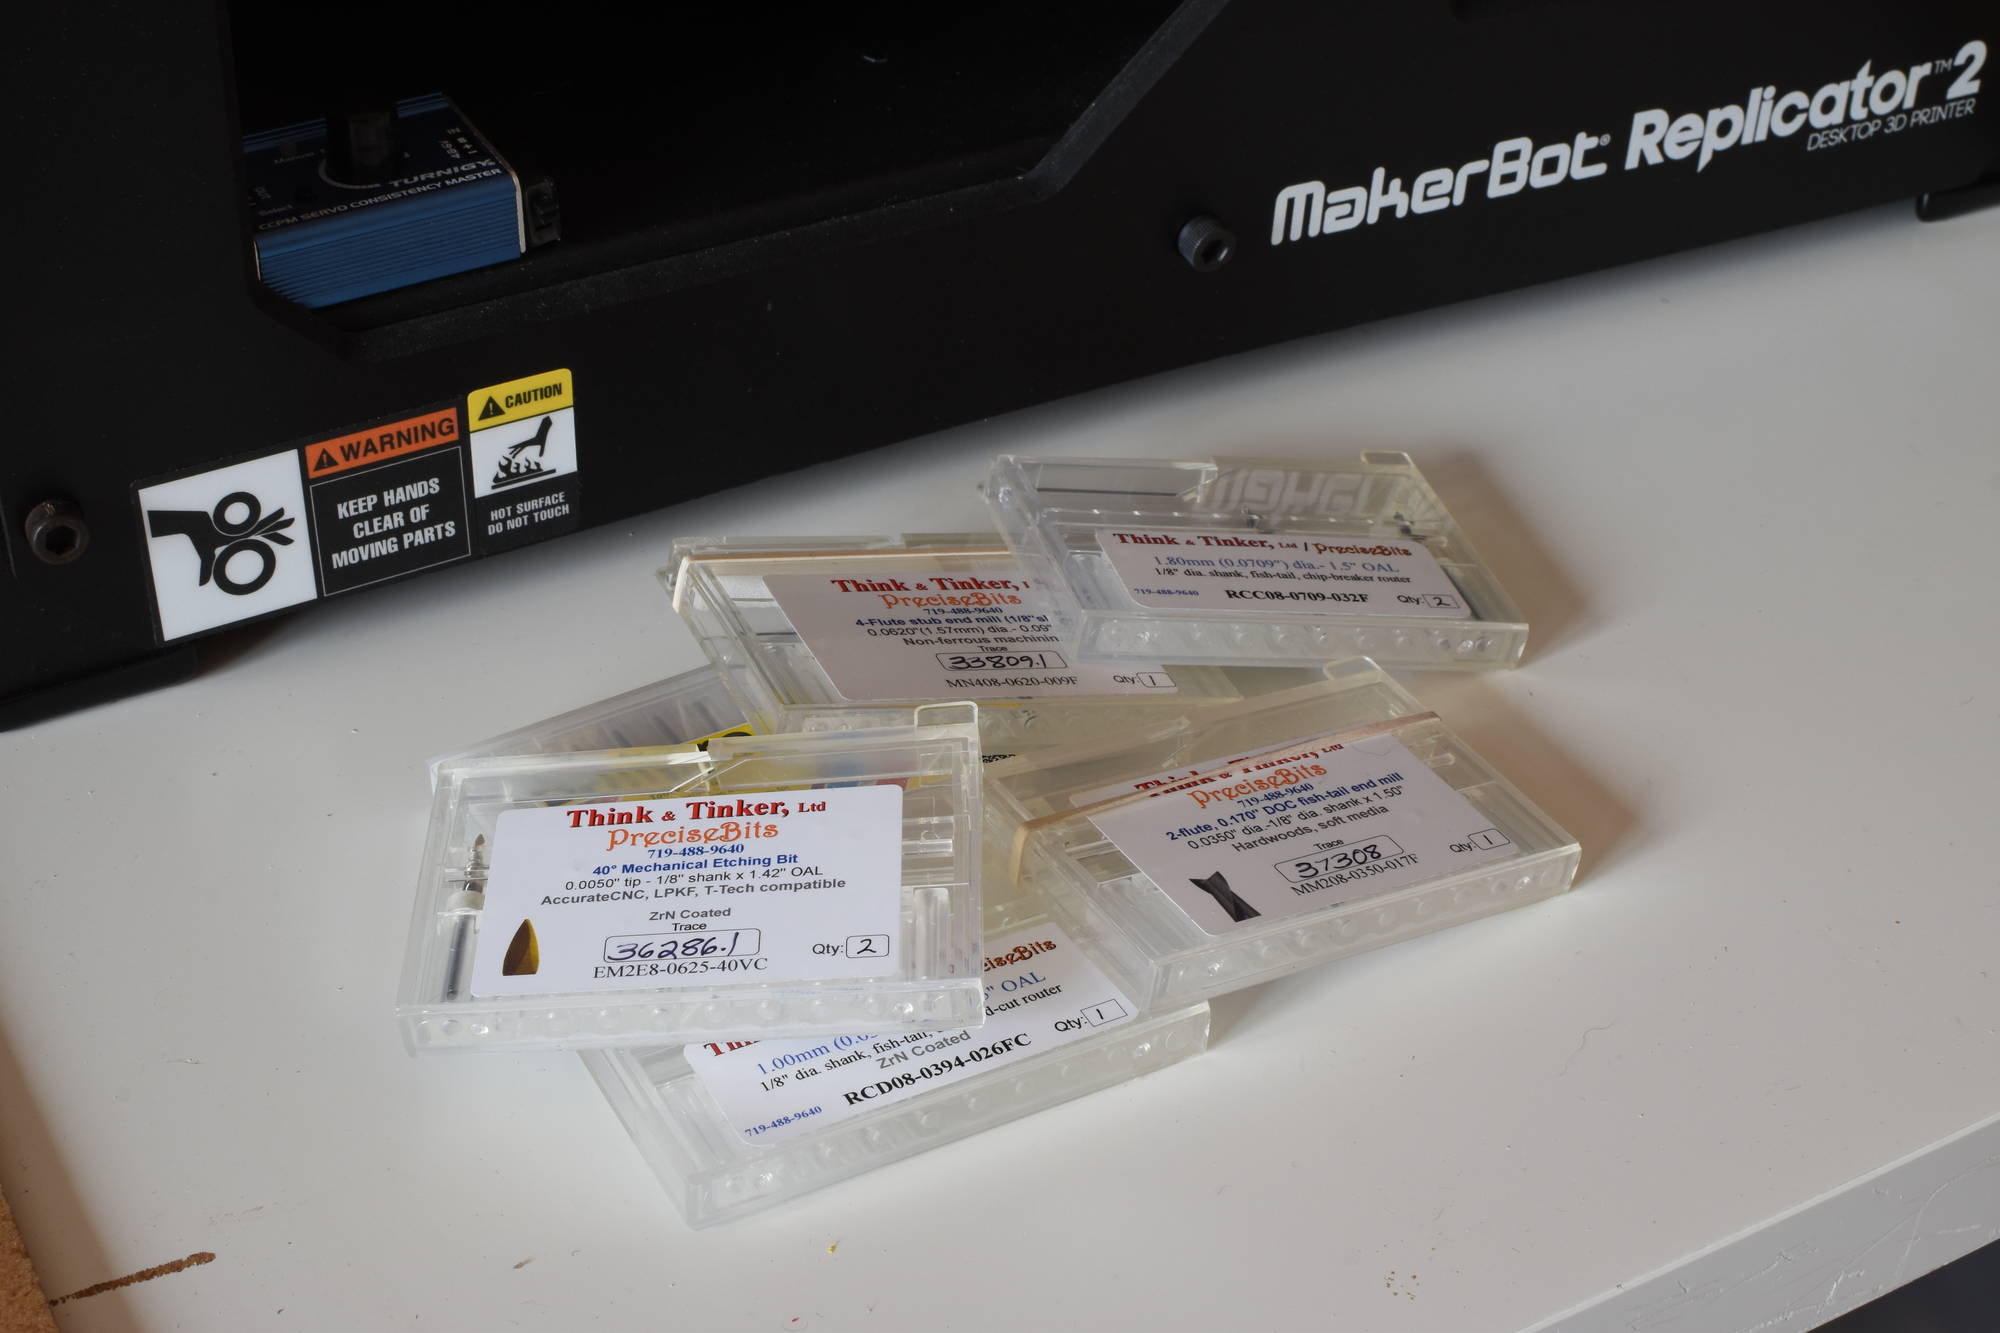
I ordered some tools from precisebits.com, they are great. They have lots of bits for cutting and engraving all kinds of materials and they provide really great tutorials from which I learned a lot. I can’t recommend them enough, especially Mechanical Fabrication of Printed Circuit Boards and Why Chipbreaker and Diamond-cut Routers are Better for Machining Fiberglass and Carbon-fiber Composites. Shipping to Europe was prohibitively expensive though, fortunately I could have them delivered to a friend in the US that was coming here. After reading the tutorials here is what I chose :
- Two EM2E8-0625-40VC 40° 2-flute V-tip bits for engraving PCBs
- Two RCC08-0709-032F 1.80mm fish-tail chip-breaker bits for cutting composite materials (such as the fiberglass from FR4 PCB panels or carbon fiber sheets)
- An MM208-0350-017F, an MN408-0620-009F and an RCD08-0394-026FC for cutting other materials such as wood, but I haven’t tried them out yet
I forgot to take drill bits so I ordered some cheap ones from Amazon instead. Probably not as good as what I could have had from PreciseBits, but good enough.
Software
The software is built upon the Python API and provides a simple command-line interface to create projects, load gcode files for each layer and engrave the board. The interface is interactive and will guide the user through each step including changing the tool, levelling the board, and starting the process. As for now, the motor and fan control is external and must be manually turned on.
All the code is available on Github.
Integration
Using a LiPo battery was fine for the first tests but it wasn’t the most practical solution for everyday usage. I found a cheap and powerful 12V 30A power supply on Banggood which was perfect for the job and integrated it on the side of the machine. On the other side is the original power supply of the Makerbot running the electronics and the stepper motor. Both of them are connected on the same 220V wire to make things simpler.
The motor and fan control are located on the front left. The buildplate is laser-cut from MDF.

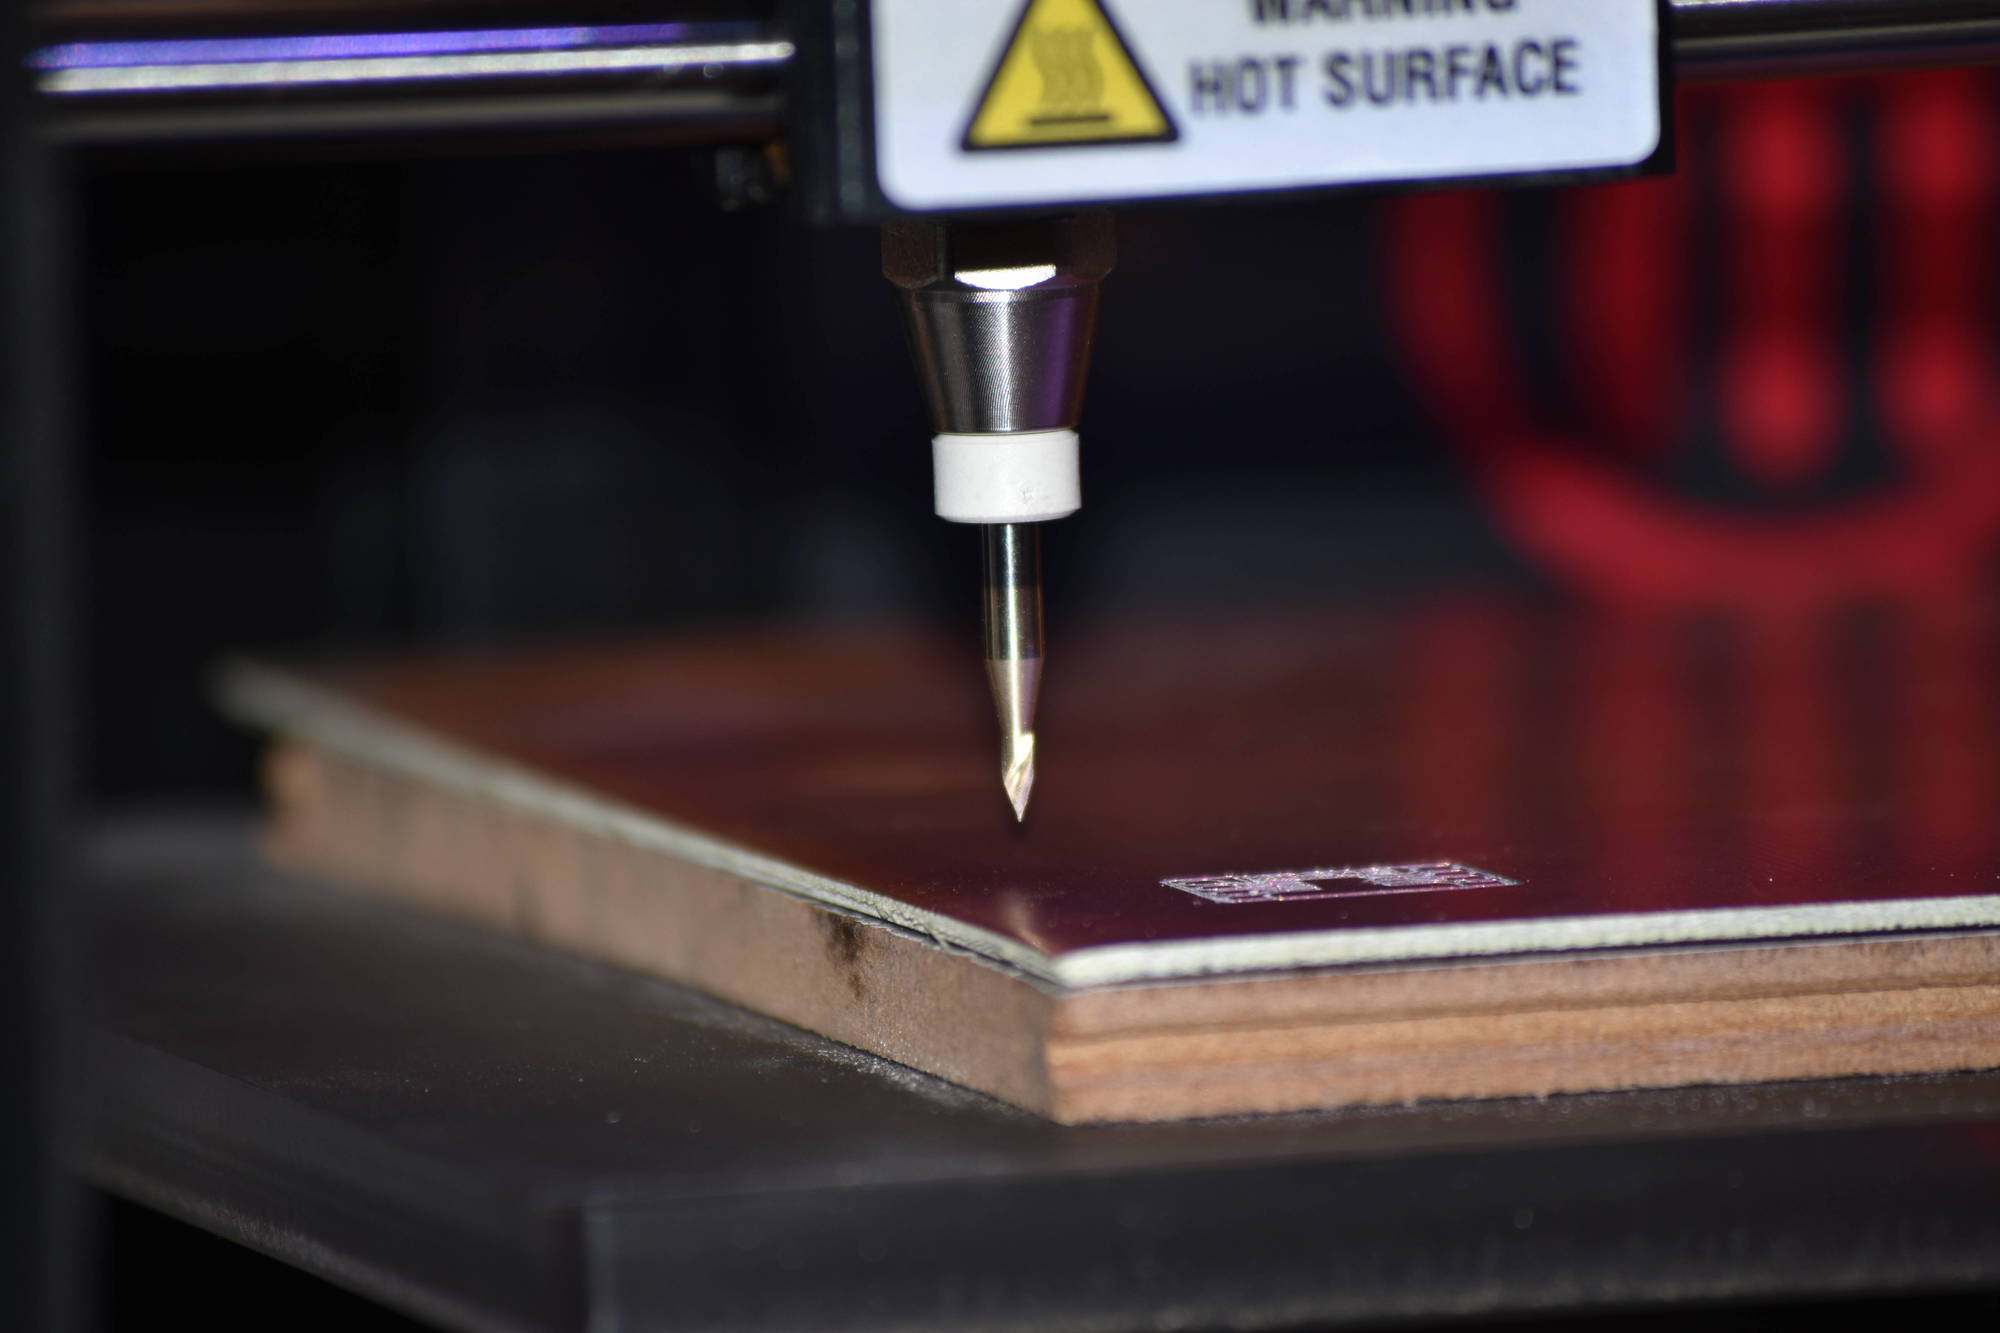
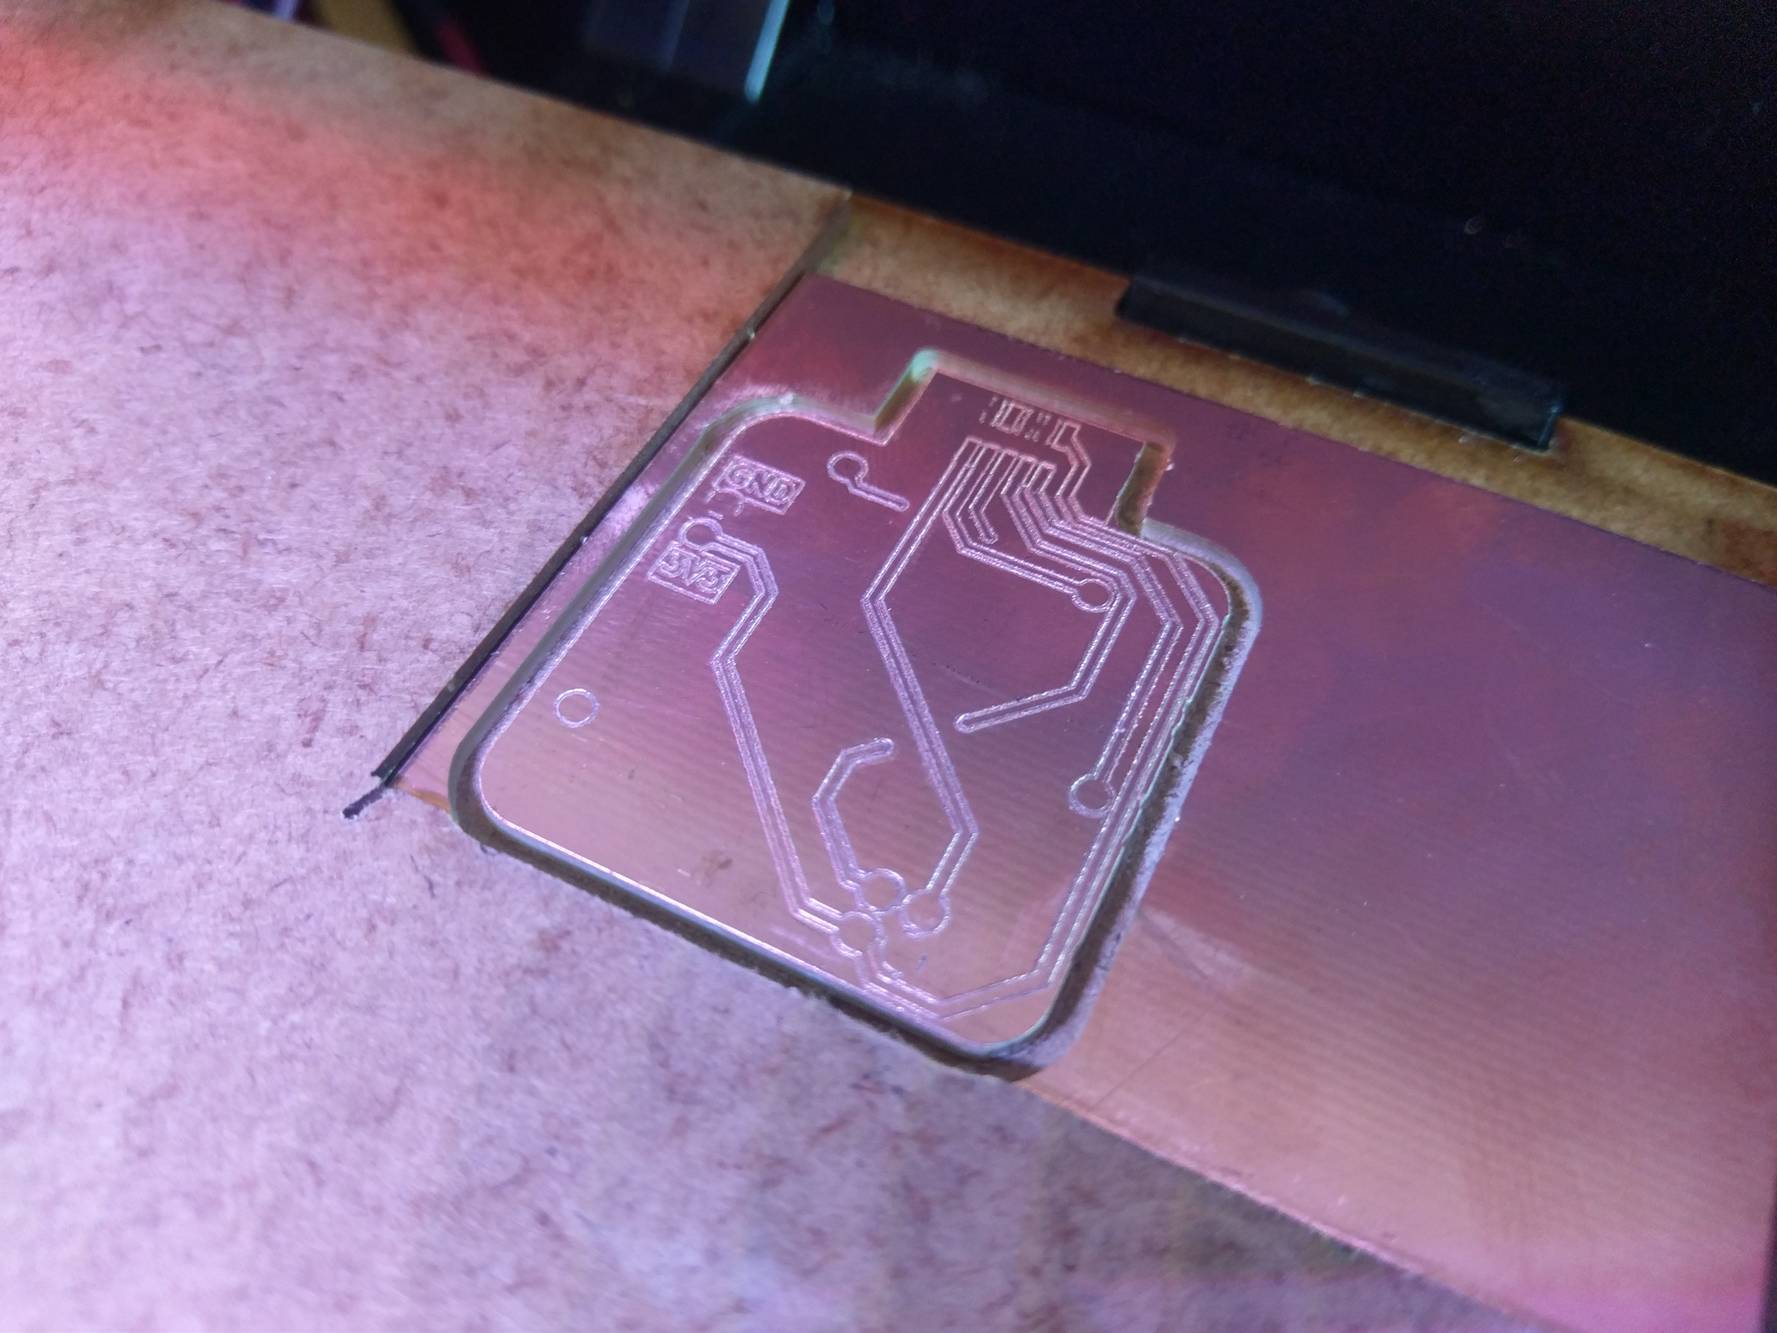
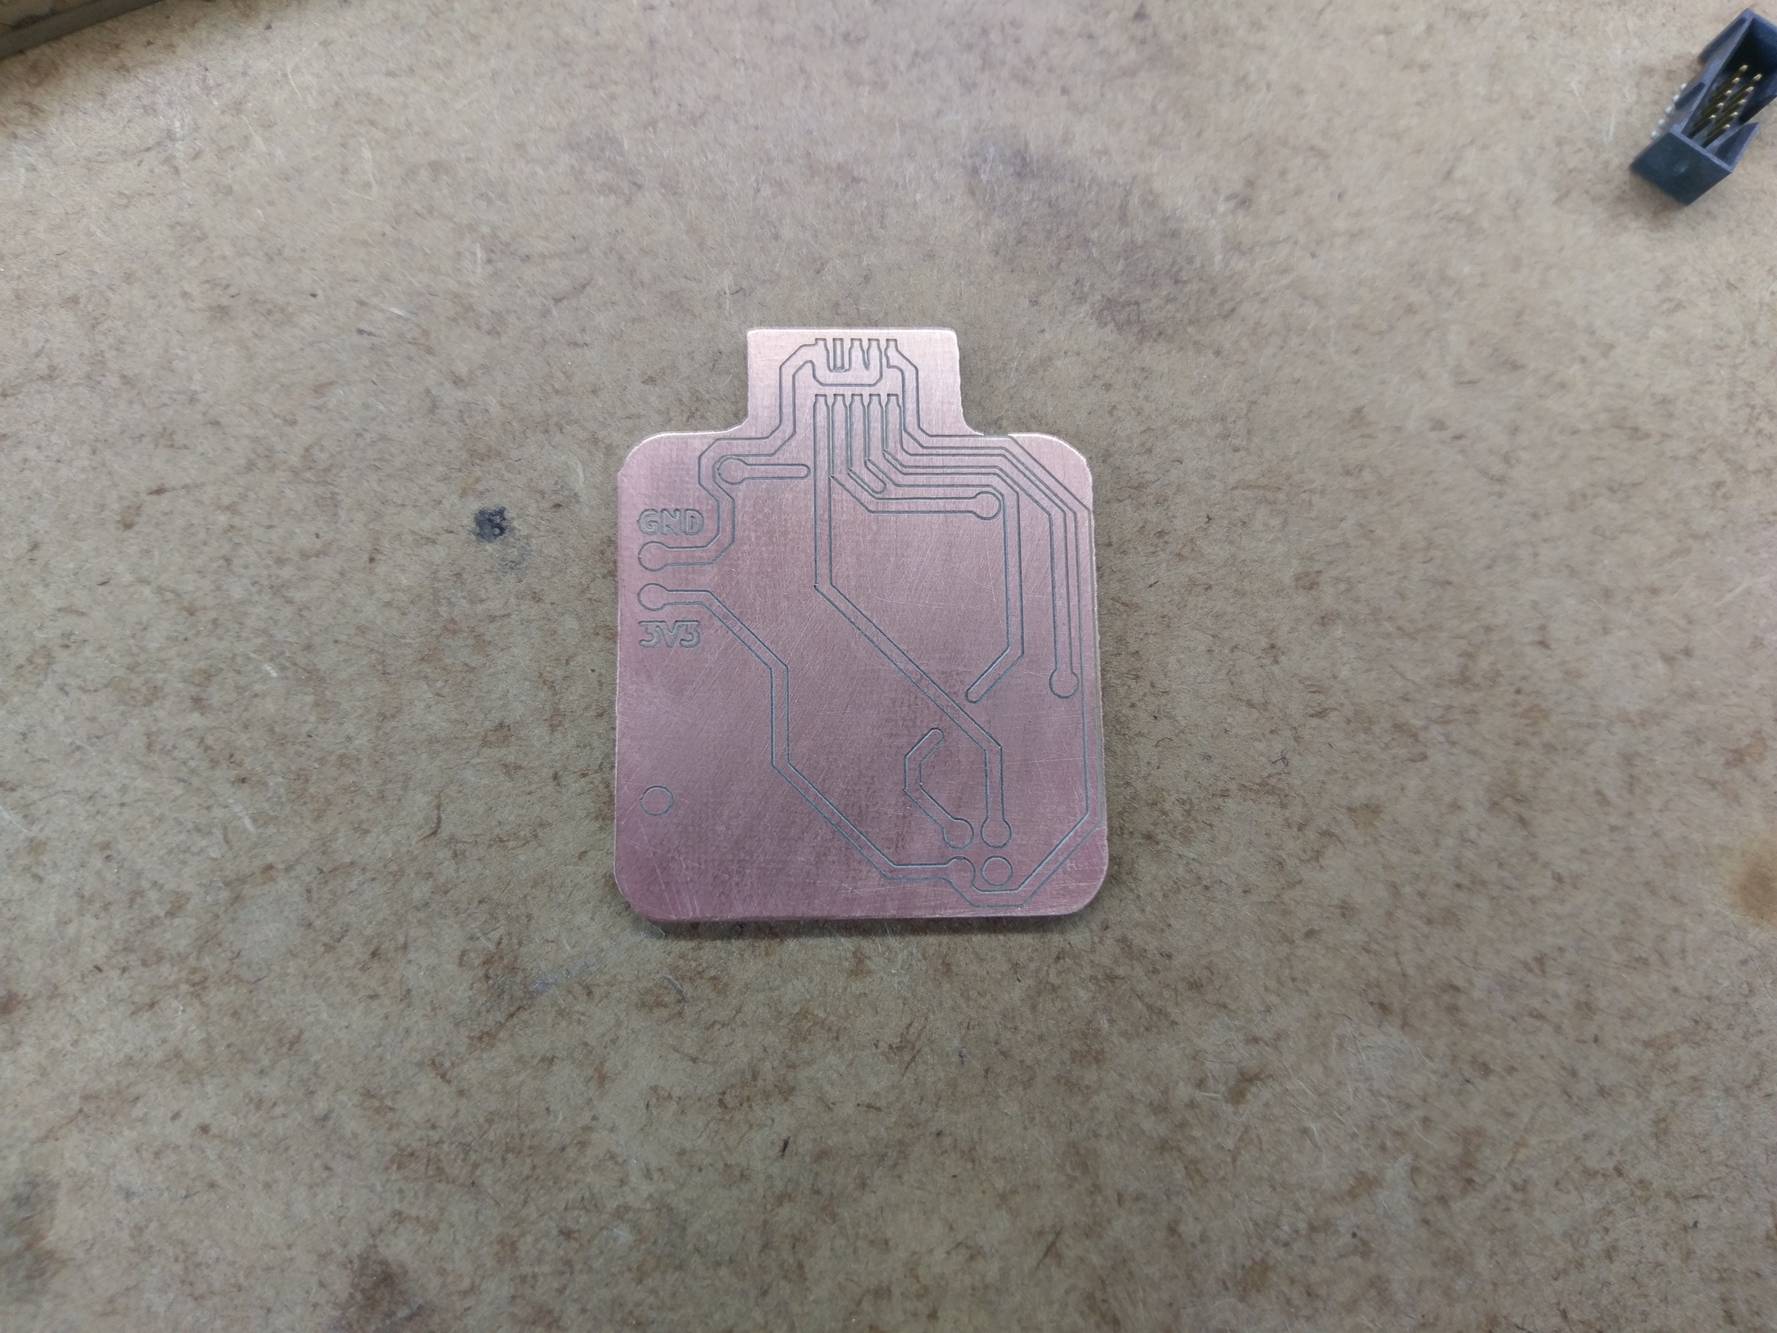
Results
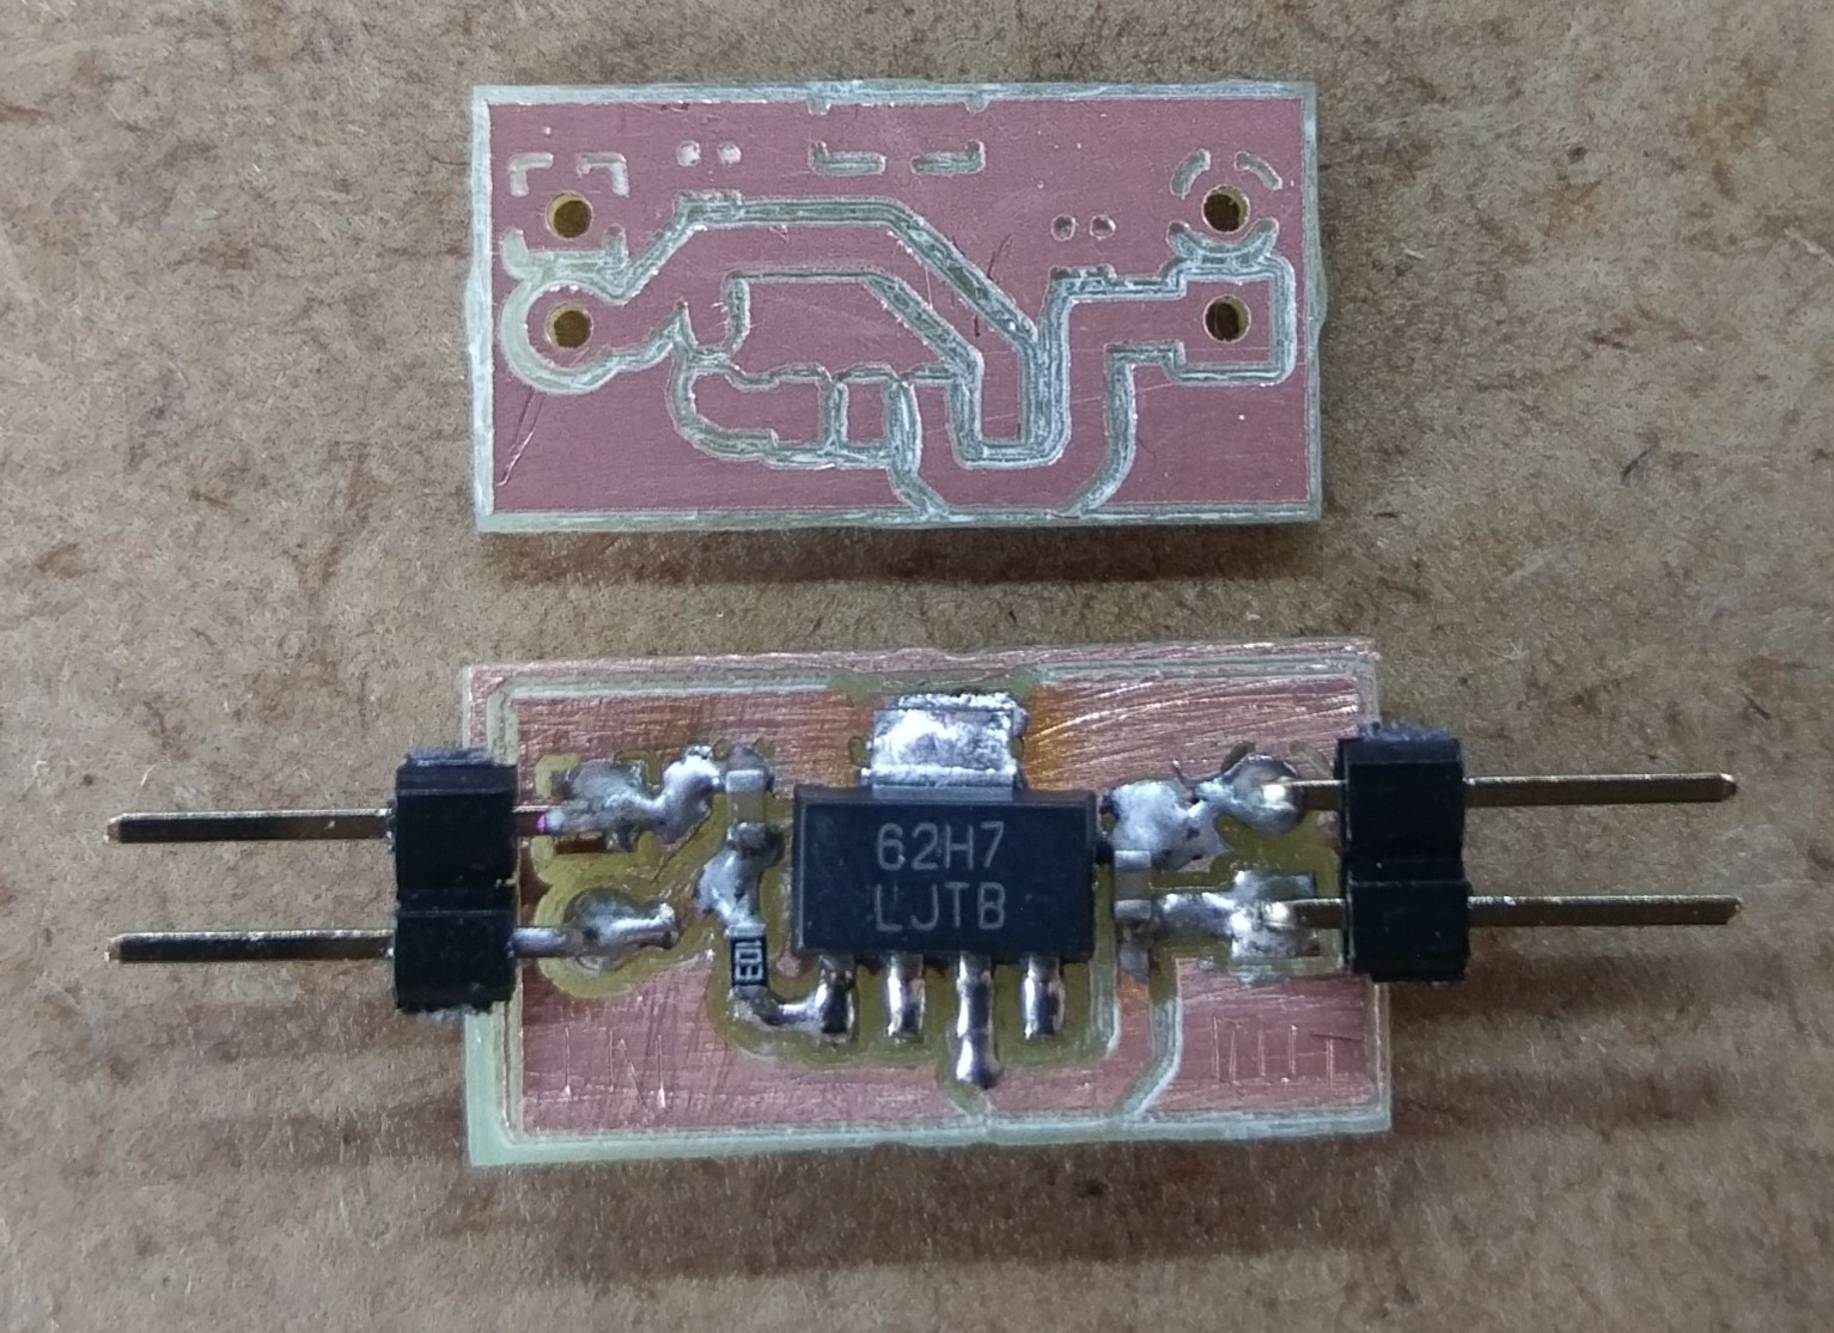
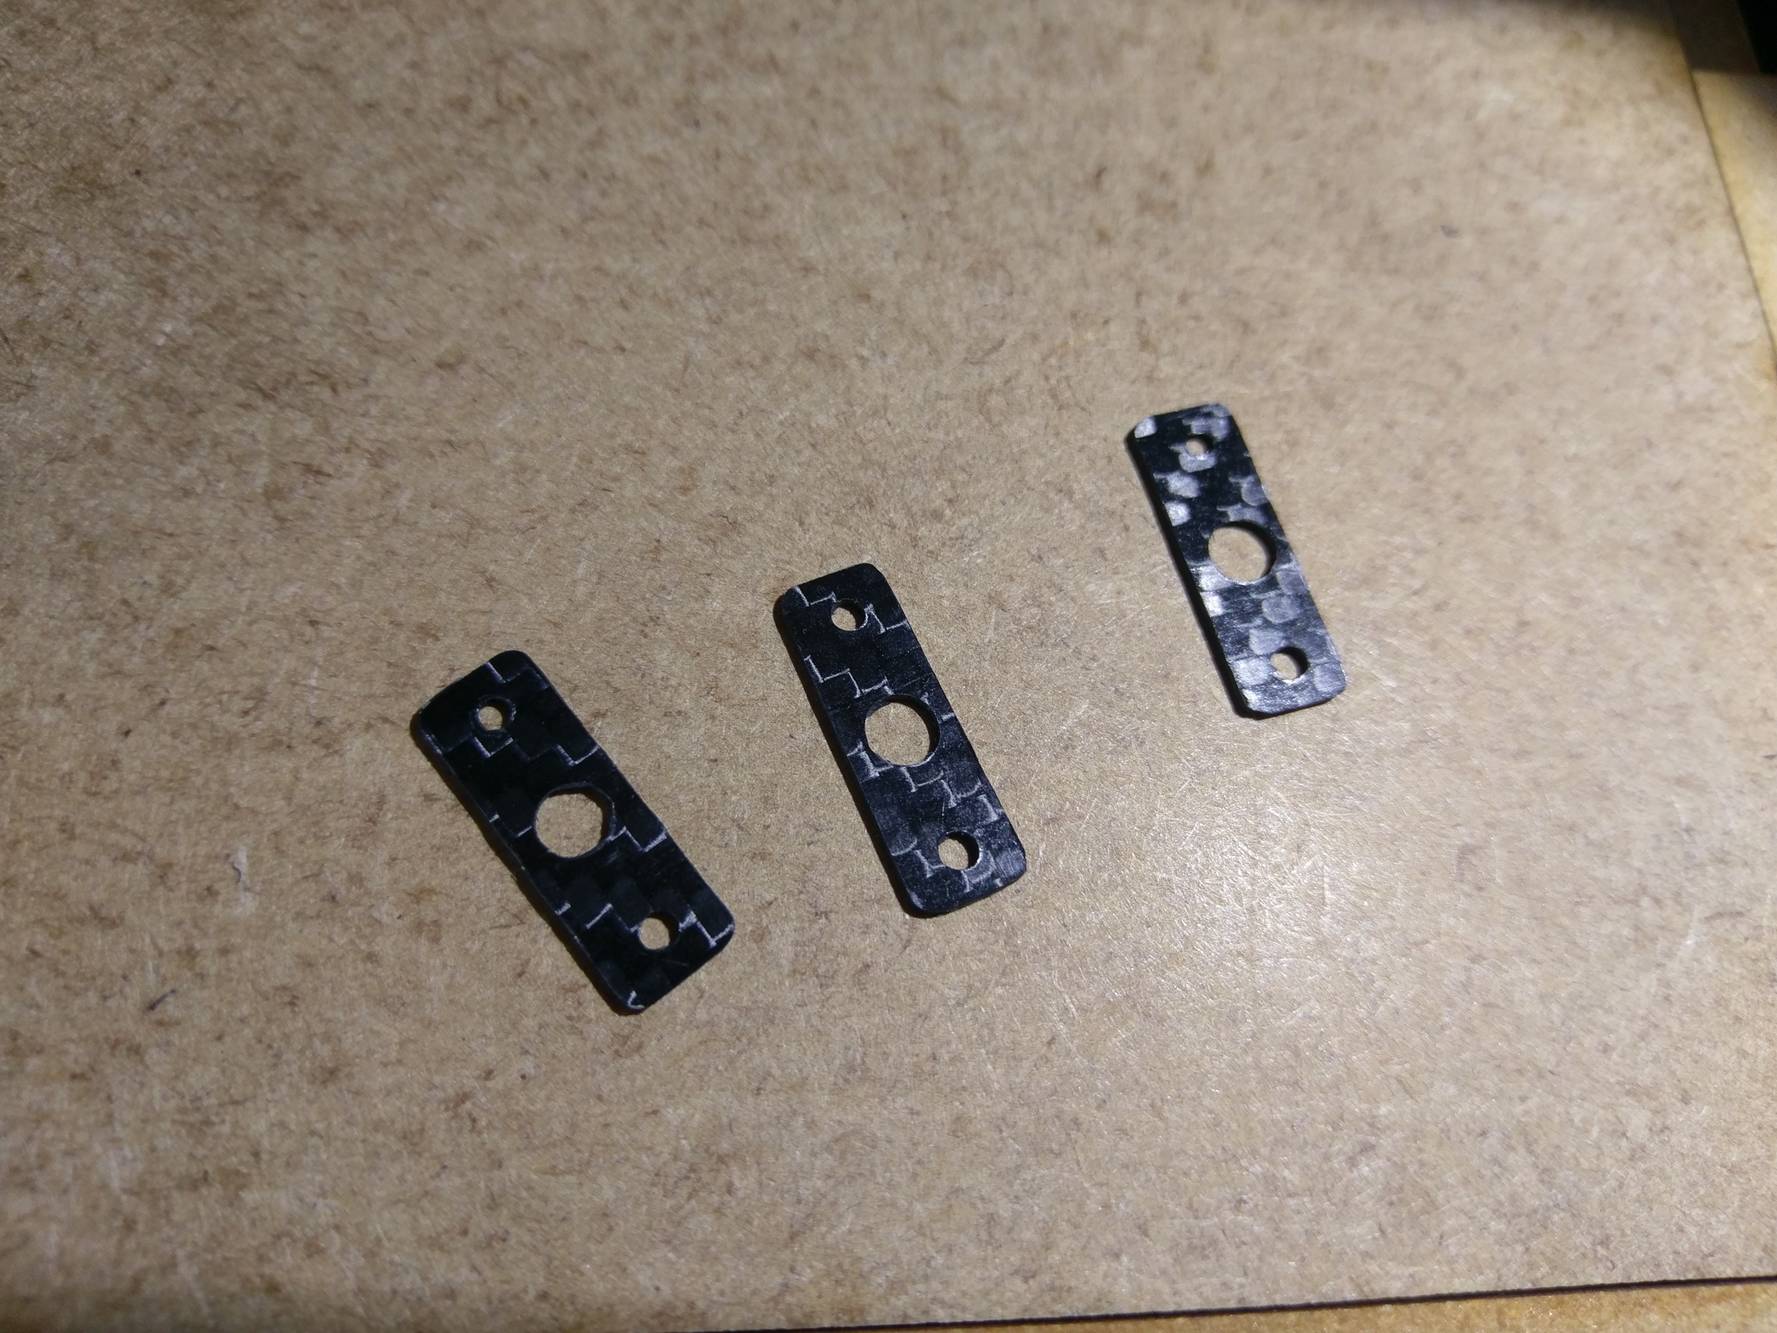
Overall, after a few tweaks the machine works great. I was able to engrave some prototype PCBs which turned out pretty good. Layer alignement when engraving 2-layer boards still need some work though. I was even able to cut out some parts out of carbon fiber using shallow passes.
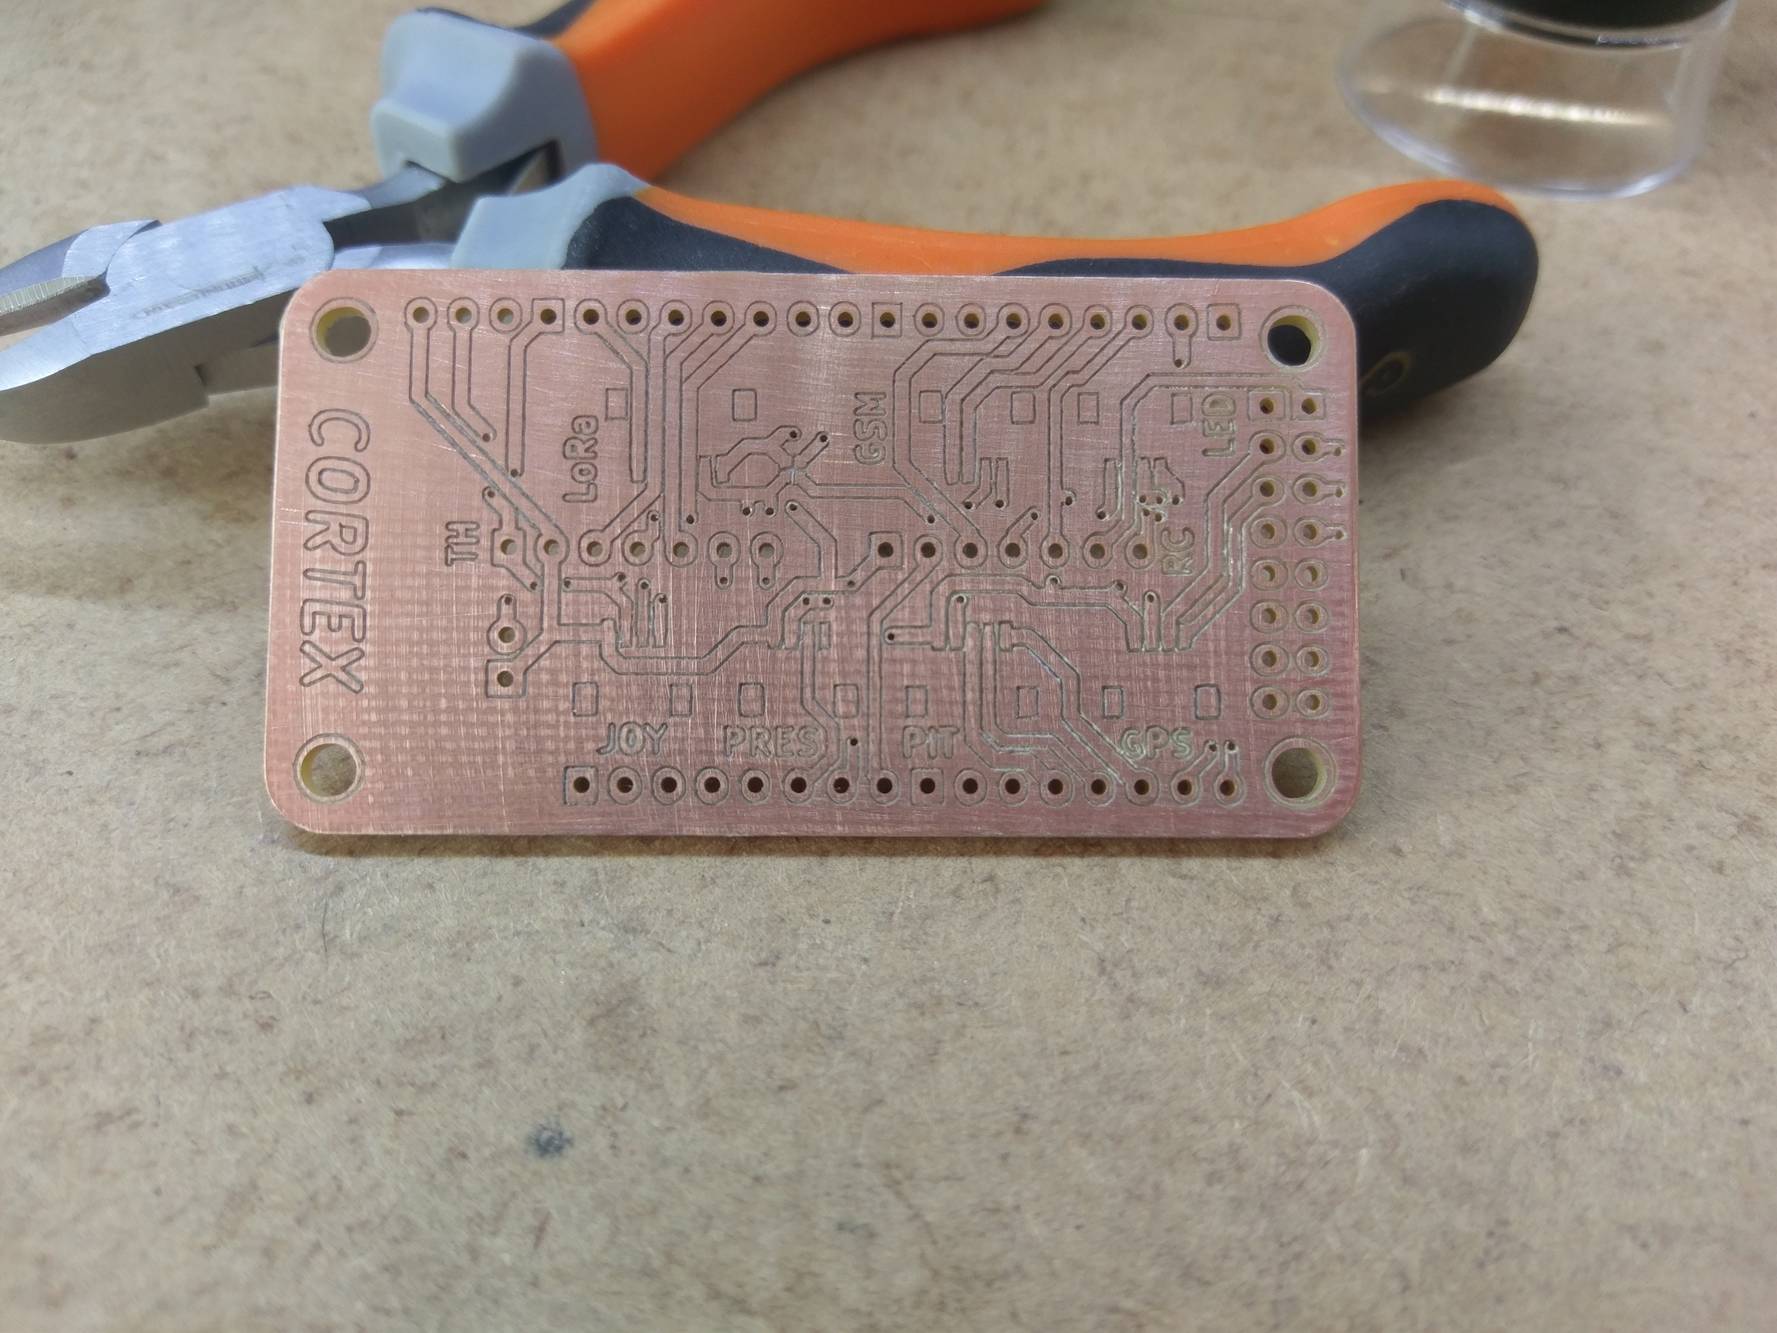
Well, this was a fun project to work on and I’d call it a success. Overall, the lack of rigidity of the structure was not a significant problem for light work such as PCB engraving at reasonable speeds, and for less than $150 this machine proved useful more than once to build quick prototypes when I was too impatient to wait for an OSHPark order. Of course, some cheap chinese CNC routers on Ebay would probably perform better but really, where is the fun in that?
Buy those from the Czech based company WEGSTR:
https://wegstr.com/30%C2%B0-spiral-carbide-engraving-bit
Shipping is about 15 Euro if you are living in France or somewhere nearby in Western Europe.
Thanks for the tip (no pun intended)! They seem to have a great choice of tools, I’ll definitely consider them the next time I need to replace mine.
Hi, tahnk you for your post. I’m trying to install the Python API implementation of MakerBot’s S3G protocol. I’m folow the steps of https://github.com/makerbot/s3g. When I put the command ‘python virtualenv.py virtualenv’, the terminal retuns me the folow error:
virtualenv.py:1106: DeprecationWarning: the imp module is deprecated in favour of importlib; see the module’s documentation for alternative uses
import imp
Overwriting virtualenv\lib\site.py with new content
Overwriting virtualenv\lib\orig-prefix.txt with new content
Overwriting virtualenv\lib\no-global-site-packages.txt with new content
New python executable in virtualenv\Scripts\python.exe
Fatal Python error: initsite: Failed to import the site module
Traceback (most recent call last):
File “C:\s3g\virtualenv\lib\site.py”, line 67, in
import os
File “C:\s3g\virtualenv\lib\os.py”, line 661, in
from _collections_abc import MutableMapping
ModuleNotFoundError: No module named ‘_collections_abc’
ERROR: The executable virtualenv\Scripts\python.exe is not functioning
ERROR: It thinks sys.prefix is ‘c:\\s3g’ (should be ‘c:\\s3g\\virtualenv’)
ERROR: virtualenv is not compatible with this system or executable
Note: some Windows users have reported this error when they installed Python for “Only this user” or have multiple versions of Python installed. Copying the appropriate PythonXX.dll to the virtualenv Scripts/ directory may fix this problem.
Could you help me to solve the problem?
Best regards!
Guillermo
Hi Guillermo,
Sorry, I never used Python on Windows so I wouldn’t know how to solve this problem. Have you checked the details given in the last line?
“Note: some Windows users have reported this error when they installed Python for “Only this user” or have multiple versions of Python installed. Copying the appropriate PythonXX.dll to the virtualenv Scripts/ directory may fix this problem.”
If this doesn’t work, I suggest you search through Python forums to find a solution, it looks like a common problem.
Good luck!